Is Form Dictated by Function? Does it Matter?

Each Portion Want Attention

Is Form Dictated by Function? Does it Matter?

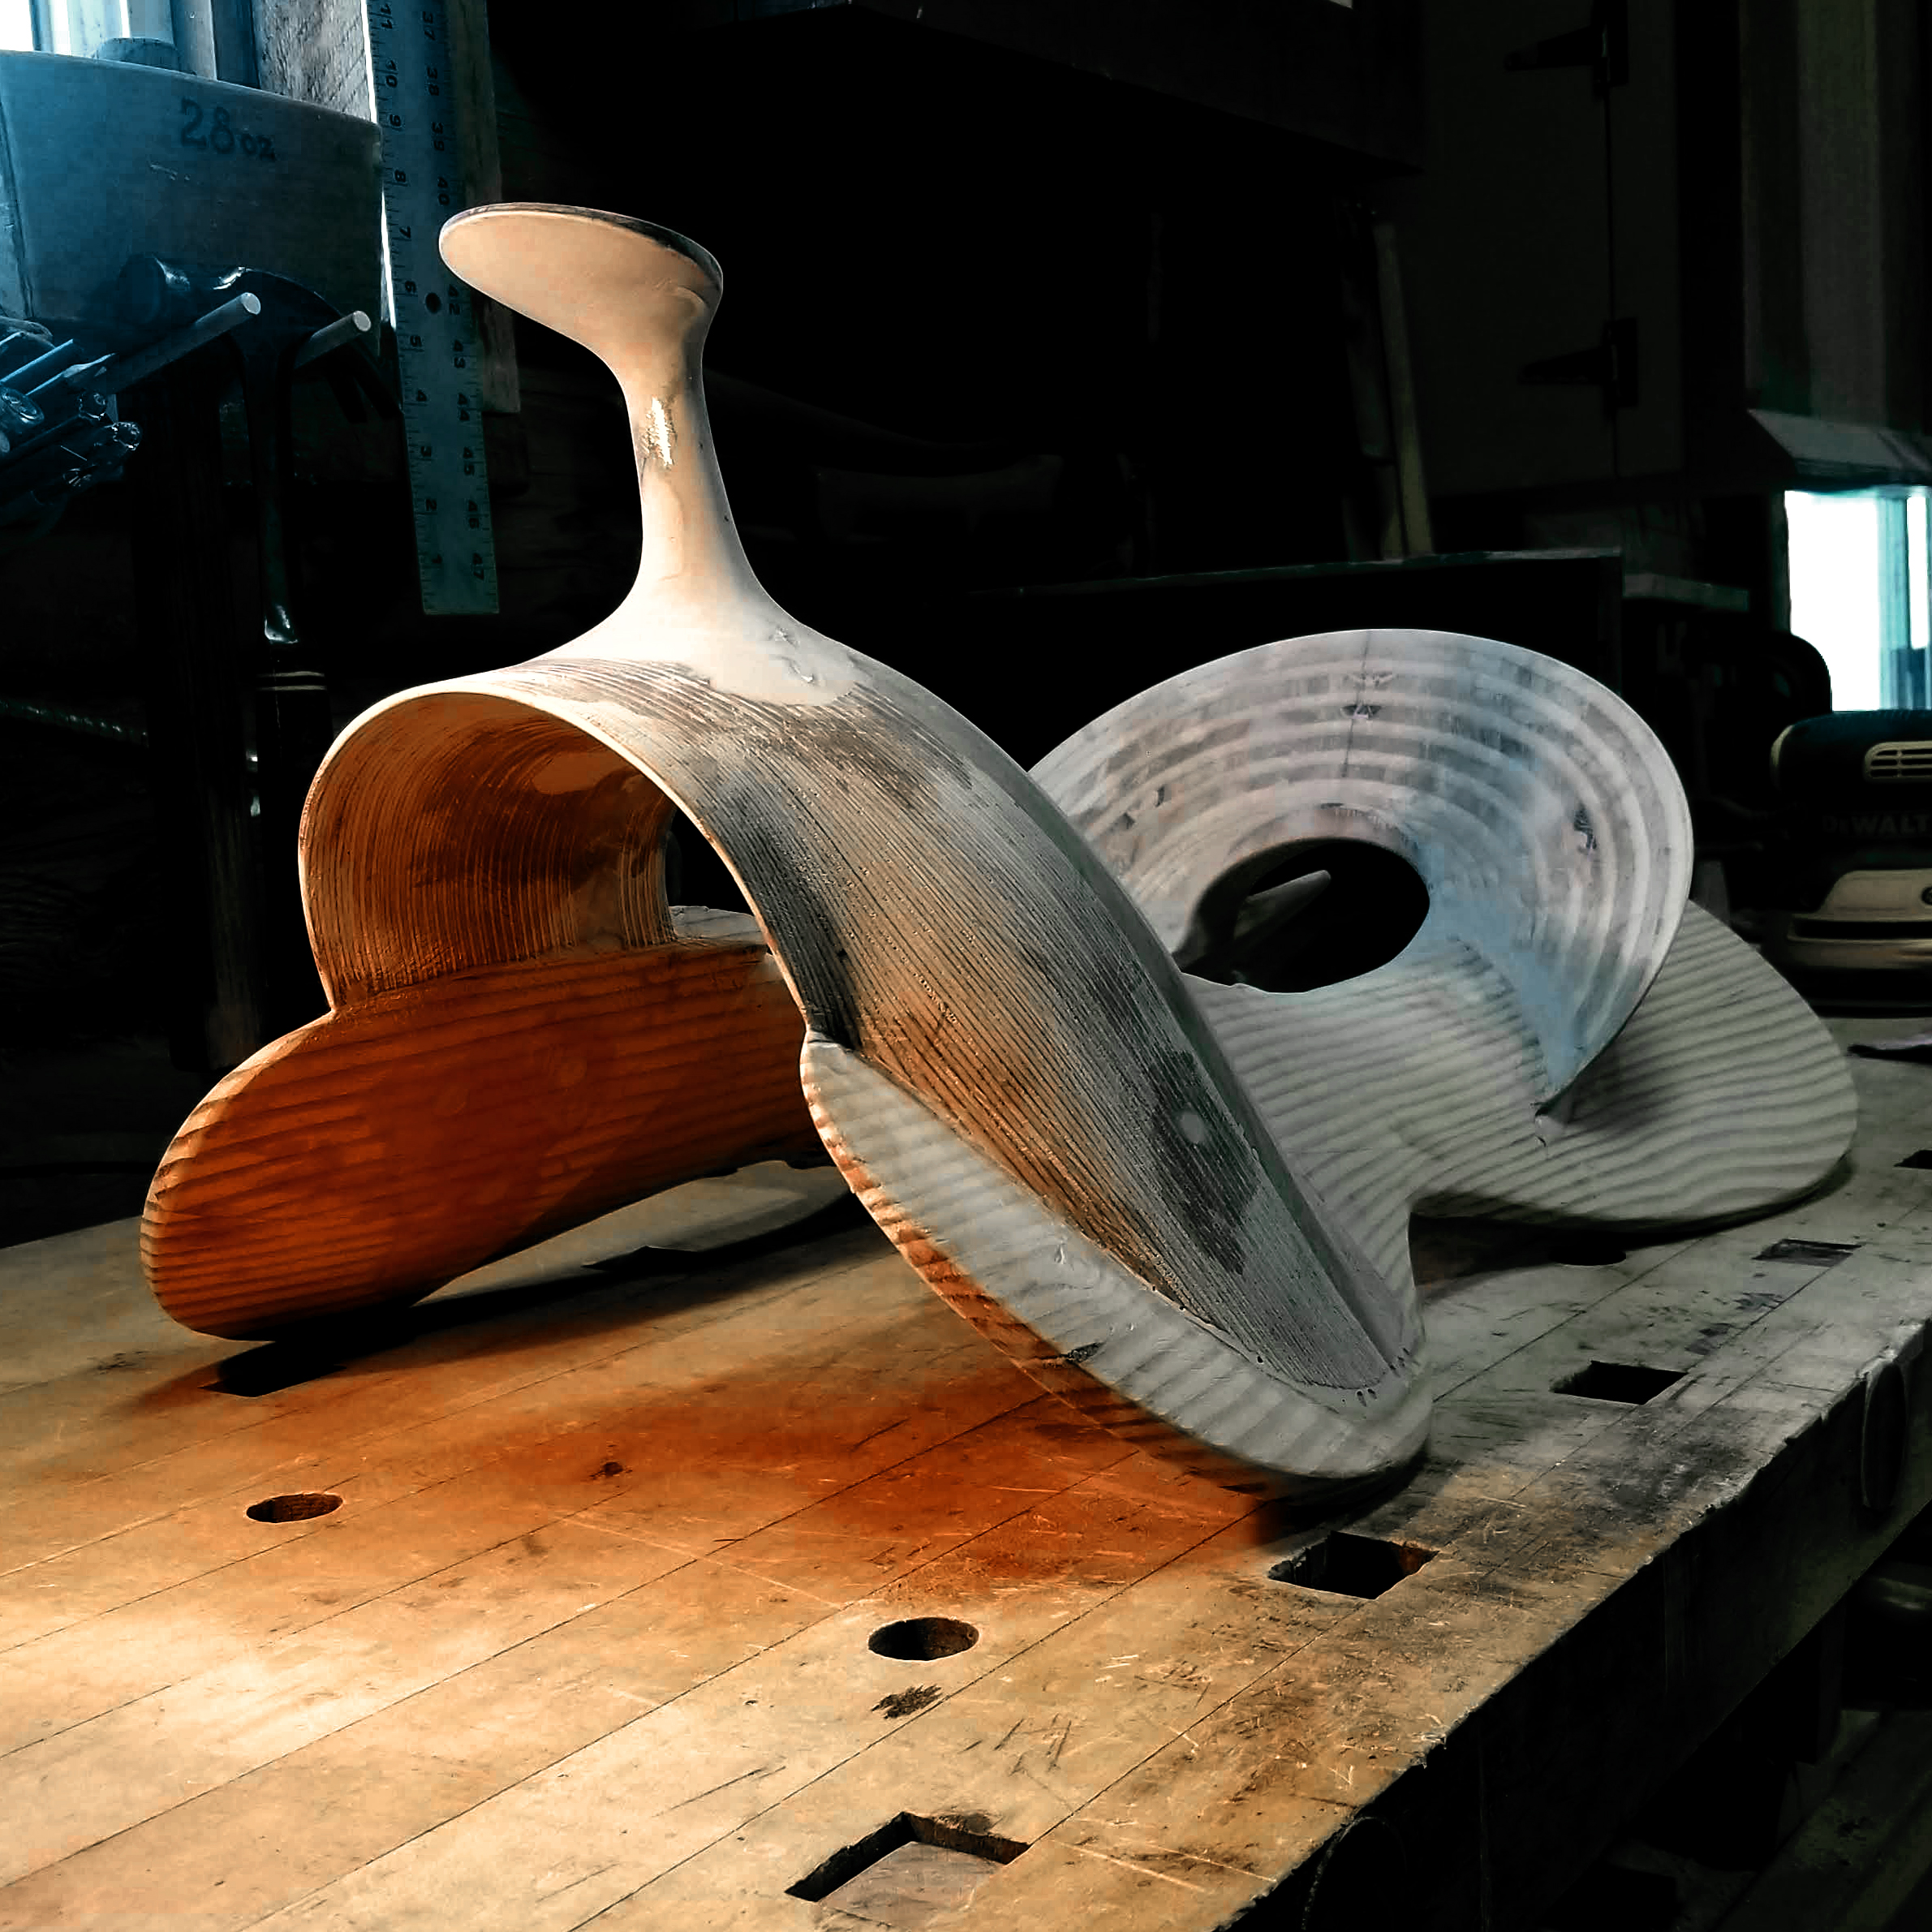
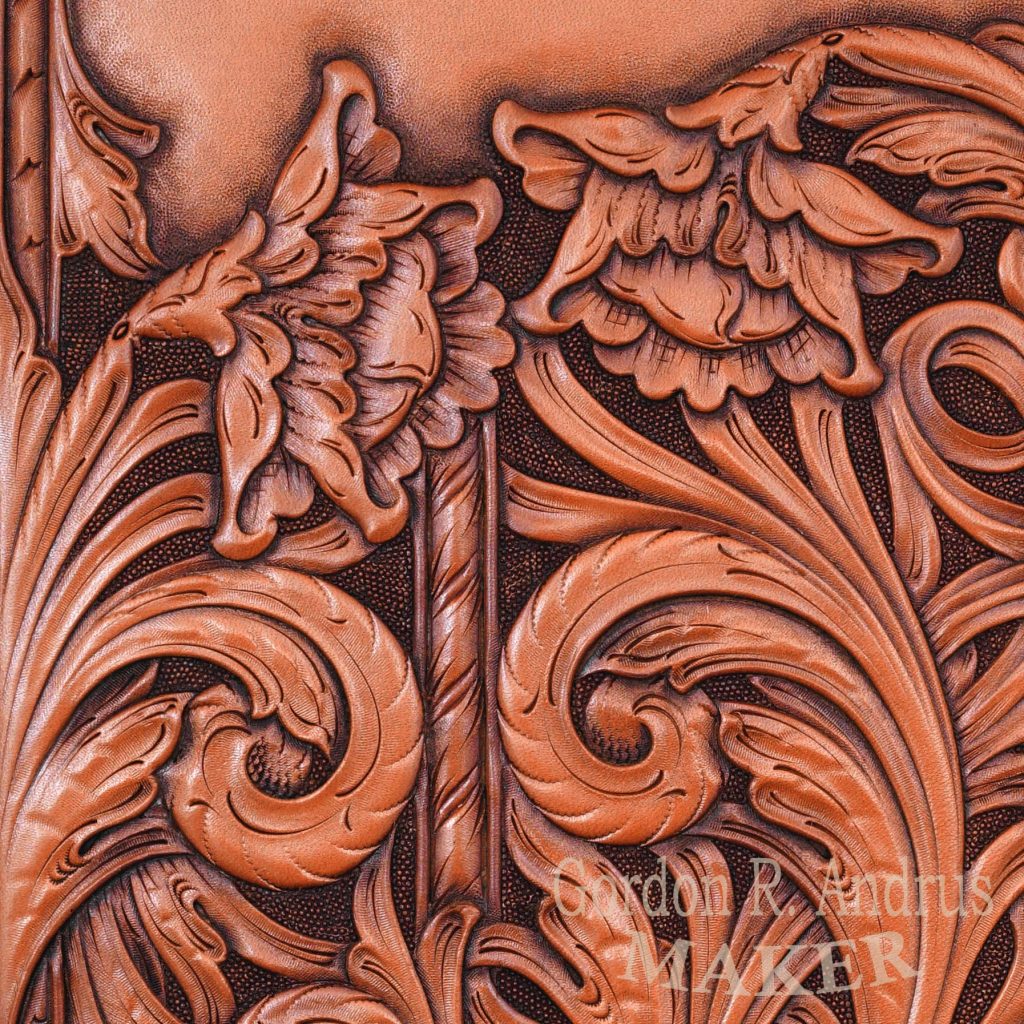
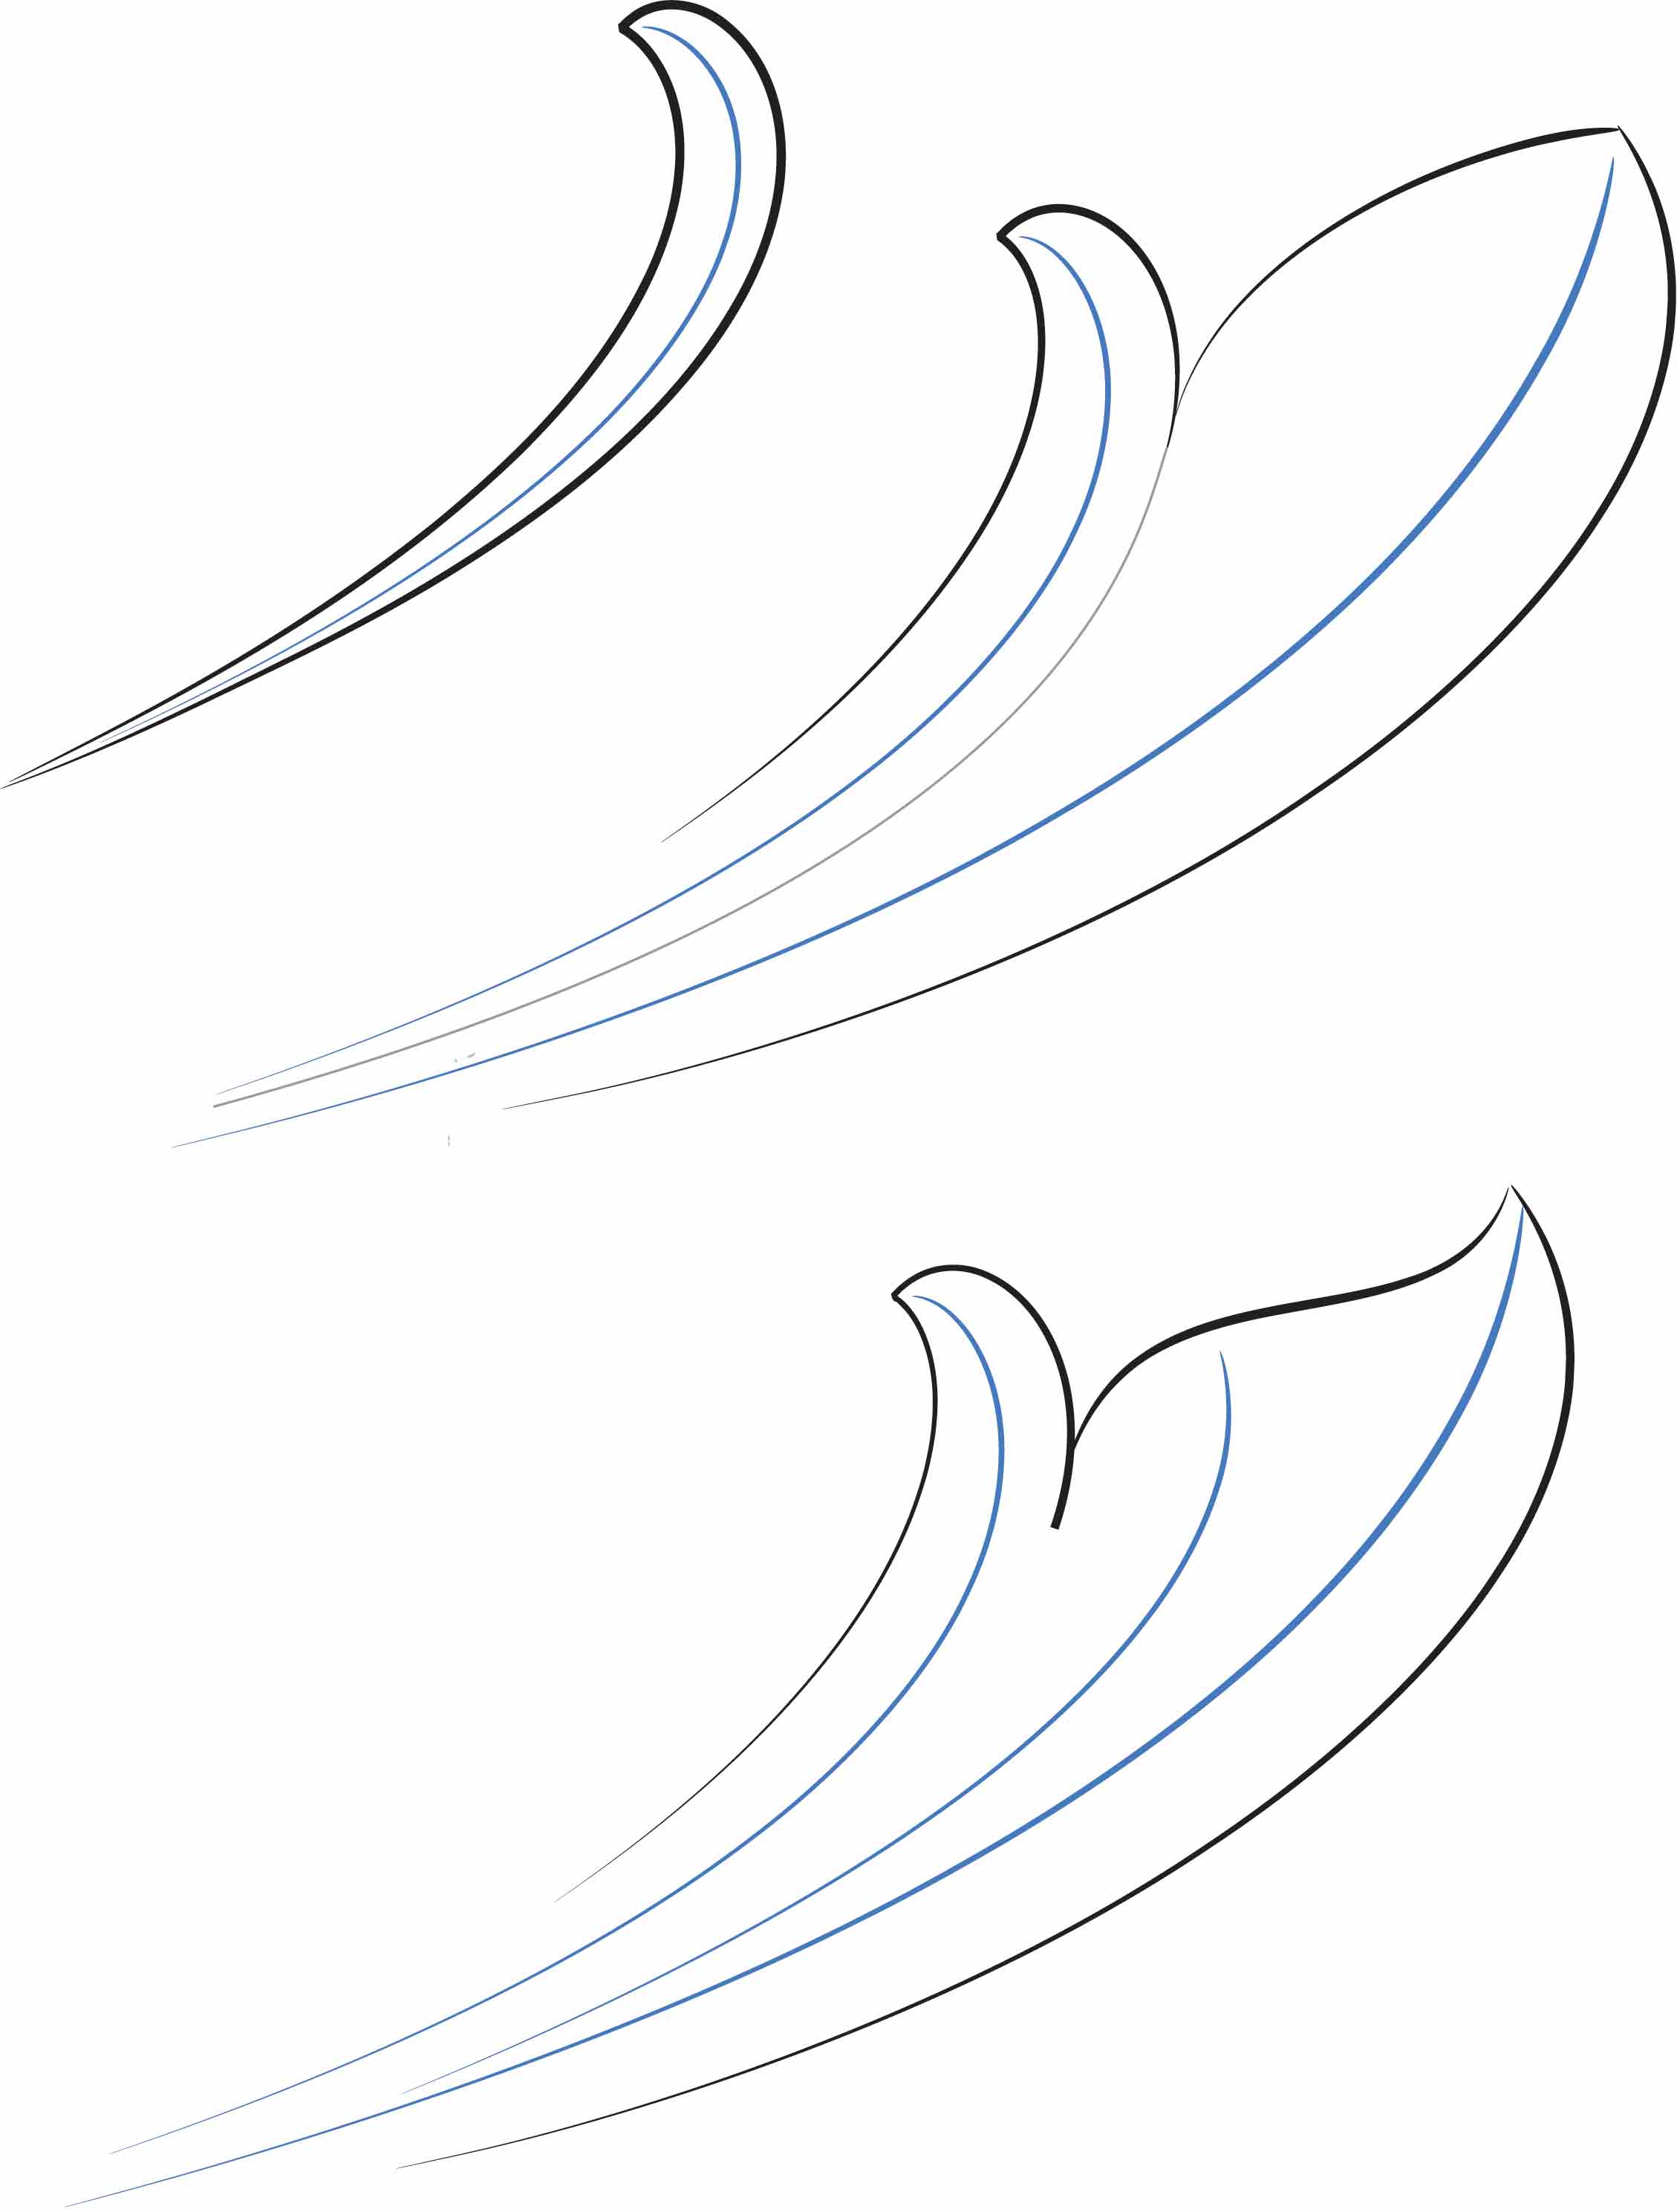
Maybe... I have to ask what exactly is function? And, what exactly is form.  A house has to have a way in and out to function as a shelter.  It can have windows to let light in and air circulation.  Then there is insulation, heating, and on and on.  These things determine what needs to be included in the form that a house takes.  But we also consider aesthetics. When we do this, we turn the old saying on its ear and start to consider the function of the form itself.  That's why I don't view tooling on a saddle as non-functional.  I also don't think of refinement in the curves of the fork and swells as non-functional. I suspect that form and function are related to each other in ways besides one of them coming first.  A tree for example needs certain things to survive.  Getting those things is what affects the way it grows.  But other forces will change the form that it grows into so that it can survive.  Then there is the variety of forms that other trees in the same neighborhood take to solve the same problems.  I'm wondering how this all relates physically because I don't want to miss out on anything that the creative process has to offer, or what I can potentially bring to my work.  I think that perhaps intent and focus have as much to do with the form we give to a thing as the thing's aspect as a tool, and each detail want attention.  The question I like to ask is; what can I give to this thing that I'm making?

Gordon Andrus

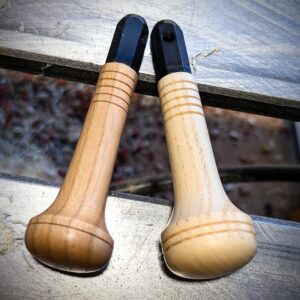
New Standard Line Professional Awl Hafts

Standard Line Professional Awl Hafts

New Standard Line Professional Awl Hafts

I've started a new line of standard awl hafts that will sell for $85.00. $150 with a blade. As with a my Artisan Made line, the blades are secured into the haft with two 8-32 hex drive set screws. These tools are not a cheap budget item. They are turned by me on a manual lathe and are made with the same attention to detail as all of my Red Ox brand tools. They are simply less detailed so take less time to make. I'm happy to be offering a more affordable tool that will perform at a high professional level.

Gordon Andrus

Getting Ready for Sheridan

I look forward to the Sheridan Leather Trade Show every year.  Even though it leaves me exhausted.  It’s always good to catch up with friends, teach, and make my tools and books available.  I always learn from my conversations, and I never come away without having made a bag full of new friends.

It’s been a busy, busy year here at the Hoytsville Hermitage so far this year.  We have two new granddaughters.  They were born twelve hours apart; sort of twins from different mothers if you will.

The shop has been busy too. (I’m wishing I’d fed those elves better.)  In addition to taking and filling orders, I’ve been working on my tool offerings.  Last year I started making a few stamps to sell.  So far these have been mostly bevelers for which I get really good reviews from folks who’ve bought them.  I’m working hard with hopes to have some on offer at the show.  I’ll be teaching one swivel knife class which will ty in well with an article in the Leather Crafters Journal that will be coming out in the next issue in time for the show.  I believe there is still room in this class. Here are some pictures of work in progress and some of my latest offerings.  I hope you’ll find me at the show.  We will have some fun and interesting times I’m sure.

Wonderful Artist, Craftsman, and Friend

Takeshi Yonezawa

This article is a must see! Yone is one of our finest artists / craftsmen. It is such a joy to see what he does. His work is surprising and inspiring. My association with him has opened insight into the incredible history of Japanese leatherwork. I had been introduced to Japanese ceramics and woodworking but knew nothing about the rich history of the leatherwork of this deeply rich culture before meeting Yone. These words from this interview struck a particularly harmonious chord when I read them. "There is a Japanese proverb, “What one loves, one does well.” My passion for leatherwork drives me to continually seek knowledge. One thing people often forget is that knowledge is the accumulation our predecessors’ history; it is impossible for someone to learn completely alone." Takeshi Yonezawa Yonezawa Leather

Published in CanvsRebel
https://canvasrebel.com/meet-takeshi-yonezawa/?fbclid=IwZXh0bgNhZW0CMTEAAR1QE2pMQi0o6rVZkw0VUmg0762FdrEh_EdQfC0IUe9KBBvG8MA8z_25TVI_aem_AWLOGRIeCiKqvSpqOUDSMjoamzXCs-NRu4xzfrG-inNckgt4POvr-HmaiXmKjduktJNezbIozoBnoceGgUKEh4CU

What is Form?

What Is Form?

The English studio potter Michael Cardew expressed an idea, that form is a thing not of the self, separate from the maker, and existing by itself.  This thought has intrigued me since I first encountered it thirty-five years ago.  My musings on this idea have leant direction to my creative life.  The realization — that this search for form need not be crowded by an over emphasis on oneself as creator, artist, and maker — is liberating.  There is freedom in the idea that form is something to seek after, to look for in the world. 

Finishing Tooled Leather

I recently had a friend from Slovenia email and ask about my method for finishing my tooled leather.  I’ve wanted to take the time to write this information and answering that email has given me the perfect opportunity.

I want to share this here to thank the followers of this blog and especially all my customers.  Please read with my hope that you will find this useful in your work…

My process for finishing tooled leather is as follows.


When tooling has dried, apply Neatsfoot, or olive oil with a piece of saddle shearling fleece sheepskin (used to line western saddles) which has been trimmed to about 15mm and roughly 70mm x 100mm.  I apply the oil with one half of the fleece as evenly as I can in a circular motion and then immediately use the un-soaked half, or another piece of fleece, to wipe and even out the oil application.  You can let the work sit for a brief time and allow the oil to penetrate somewhat.  You don’t have to leave it overnight as some people claim.


I use nitrocellulose lacquer that is made for finishing guitars to seal the surface and provide a resist for the antique (Fiebing’s, I like the tan color for most things, Dark Brown for brown colored skirting).  Use a piece of fleece for this lacquer also.  It will take some practice to get this mastered.  You don’t want it to be thickly applied.  I do the same with lacquer as with oil, wiping it with a cleaner piece of fleece before it can start to dry.  Lacquer dries extremely fast and will become messy and sticky if you let it build up.  You don’t want to be able to see a coat of lacquer on the leather the way you would with paint or varnish on wood.  This film of lacquer will be dry in minutes, and you can move straight on to apply the antique paste.  Again, no waiting overnight as some would tell you.  Lacquer is not very flexible and will crack if it is applied to thick.  If you’ve seen an old guitar with a crazed/cracked finish you will understand what I mean.


I thin my antique paste to the consistency of thick cream.  It is left thick enough that it won’t run off from a paint brush.  I use mineral spirits, a paint thinner here in the US known as Naphtha.  Any type of mineral spirit paint thinner will work.  I apply the antique with a natural boar bristle sash type of round paint brush. These I believe are more common in Europe.  With this type of brush, I can pounce, or push the antique down into all the cuts and details.  If the paste is left as thick as it comes from the manufacturer it will not flow into the work the way I want it to or be able to be cleaned off sufficiently.  Work quickly, and on most pieces bigger than a wallet it is good to work in sections, so it won’t start to dry and be more difficult to wipe off.


When the antique has been evenly spread and worked into the tooling, I first wipe the excess off with paper towel, then follow immediately with a larger piece of fleece which is left at its full length.  The idea is to remove as much of the paste as possible.  This piece of fleece will become filled with the antique paste and must be replaced as it fails to remove the paste from the details.  I later trim this fleece to be able to use it for other applications such as the Fiebing’s Bagcoat that I use as the final topcoat.


Bagcoat and Tancoat are very similar.  Bagcoat is thinner, and I prefer the way it looks as well as the way it goes on.  Tancoat can be used.  I apply this topcoat with a piece of fleece also, spreading it with a piece that has been trimmed, and then wiping it off with a full thickness piece to create the thinnest film possible.  These products leave a beautiful lustrous result; however, they are not durable or water resistant.  If used by themselves without the lacquer the work will spot if water is dripped on it.  The smallest drop will cause water spotting.  This does not happen if lacquer is applied first.


Thanks for checking in, and please leave comments and questions so I can get an idea of the things you folks would like to see covered in future posts on this blog

Gordon-
Back in Stock!

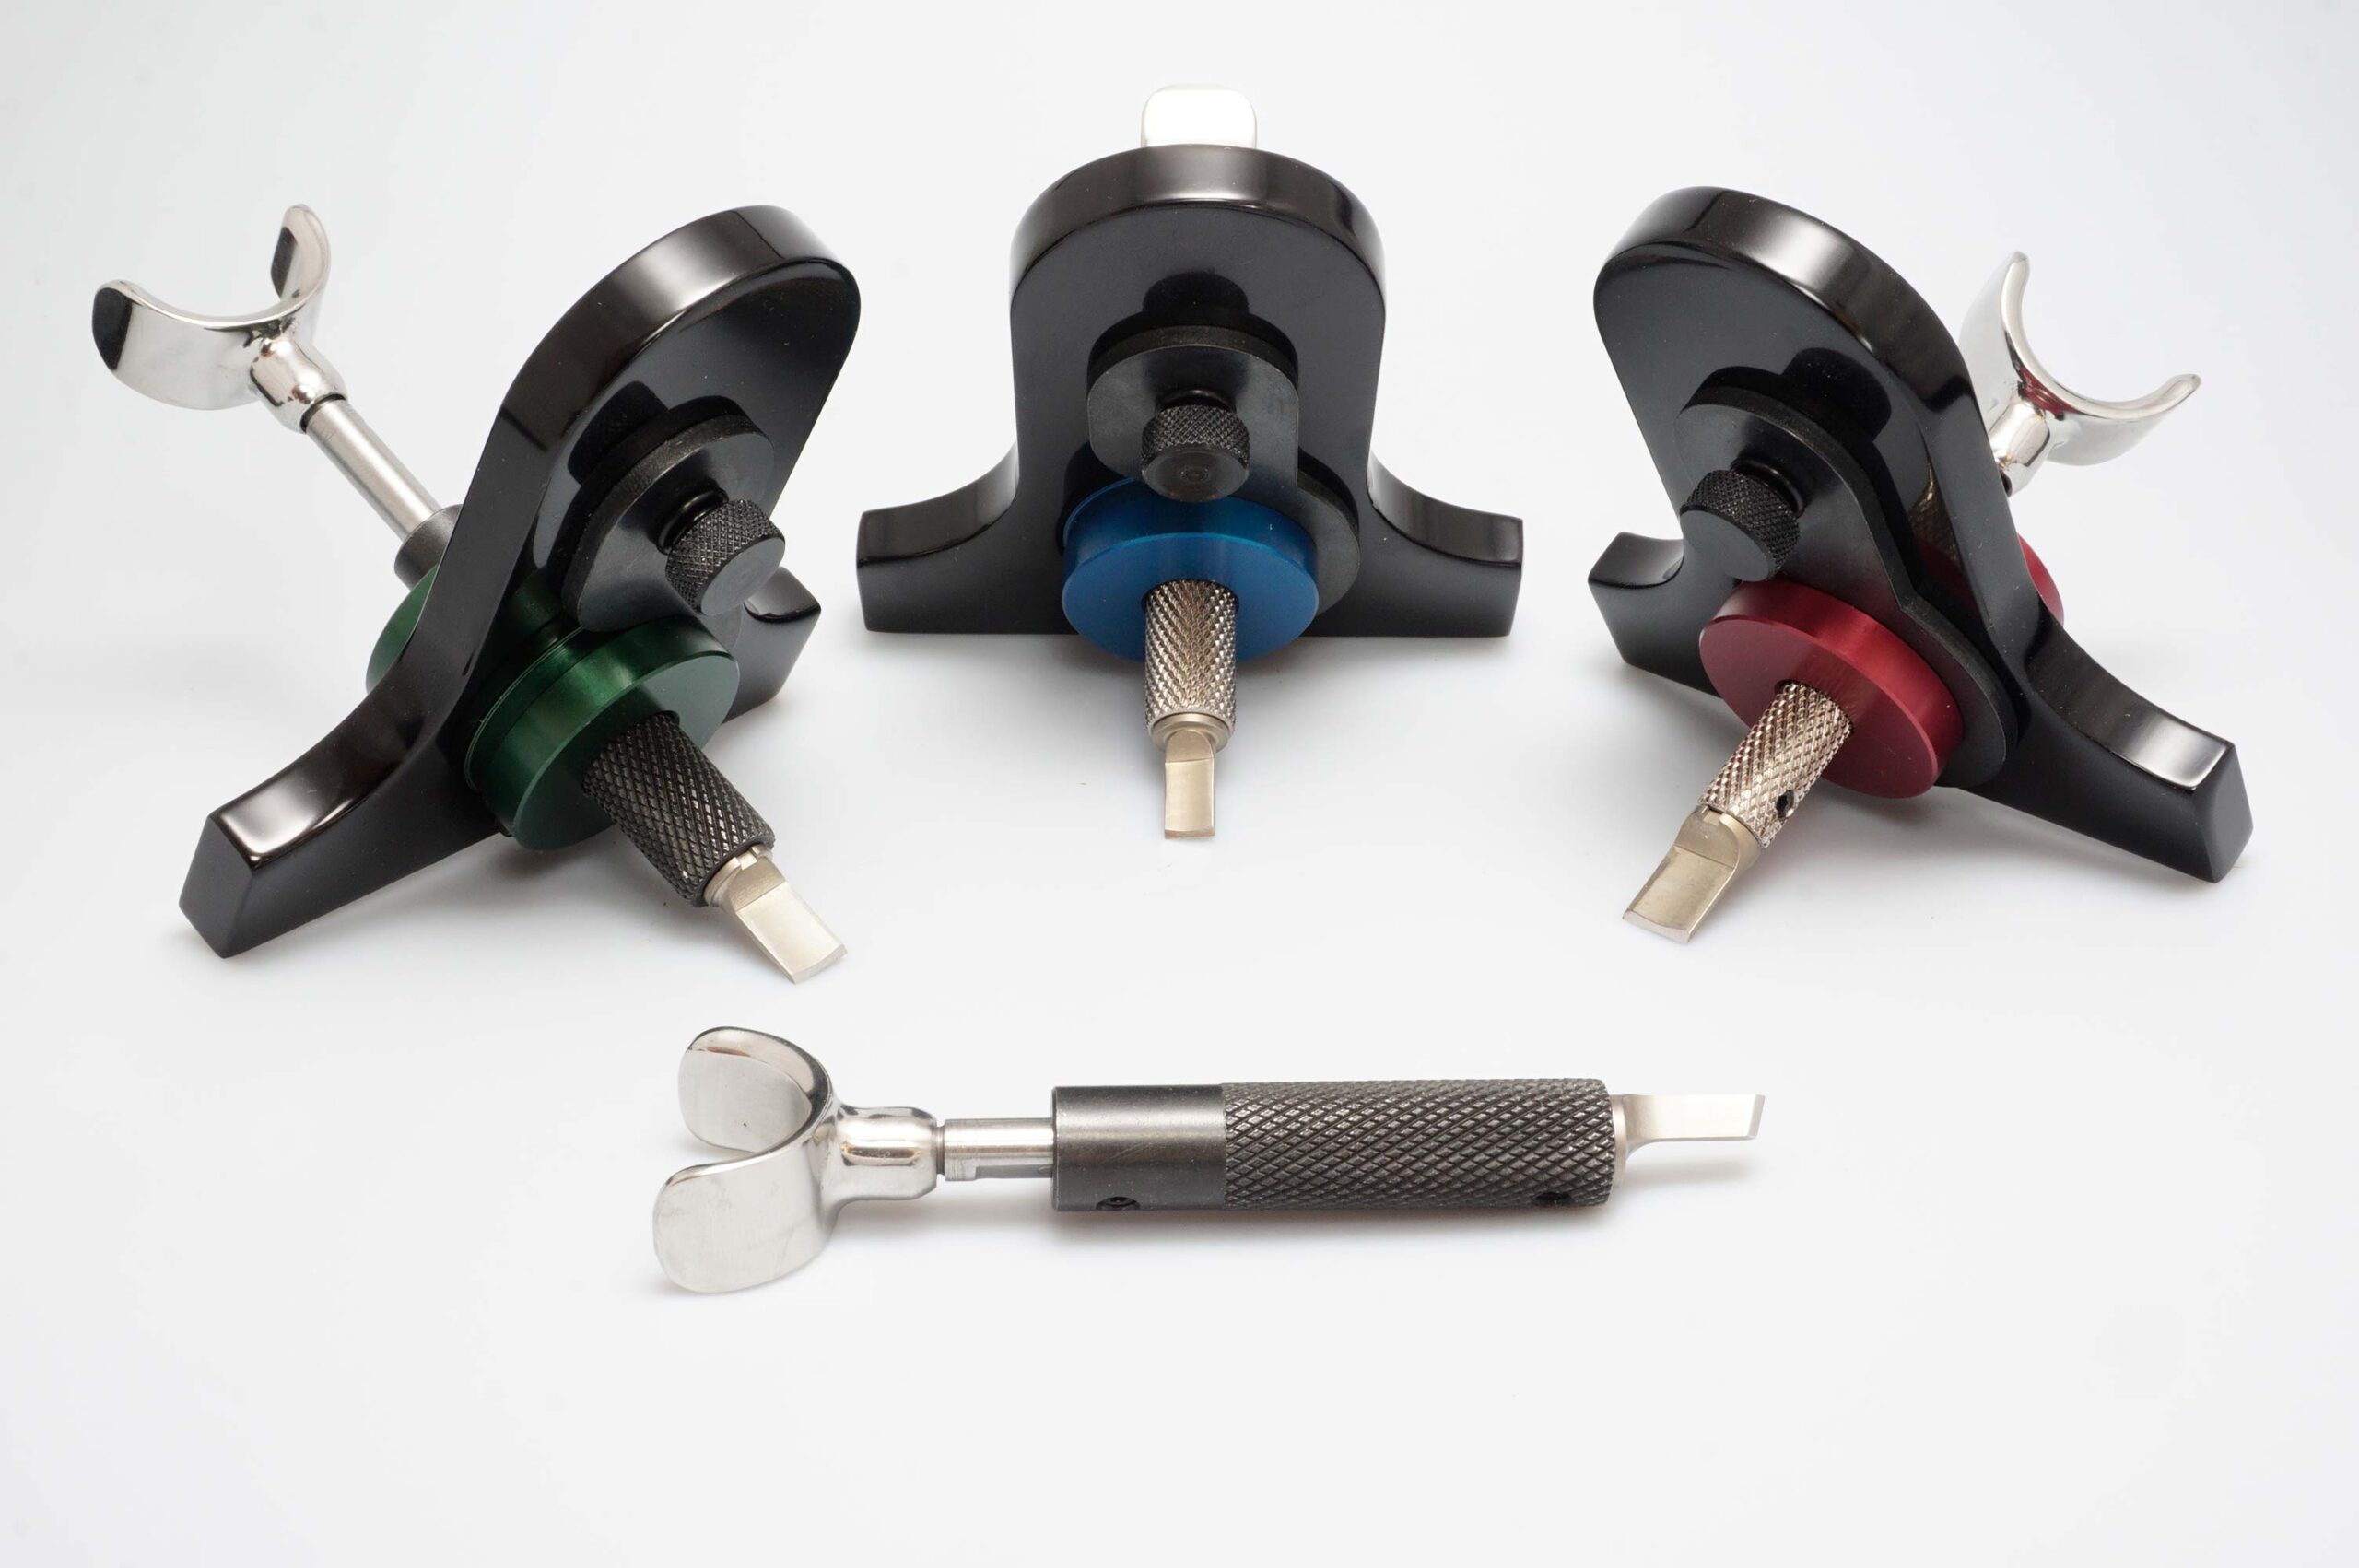
In-Line Sharpening System


I’m happy to announce that at long last I have the In-Line Swivel Knife Sharpening Hand Pieces back in stock.  They are once again available to purchase here in the store on this site.  https://redoxbrand.sagecreeksaddles.com/product/handpiece/

My thanks to those who have inquired and patiently awaited this announcement.  Those of you that have questions about this swivel knife sharpening system are encouraged to contact me by email.  If you encounter any difficulties in ordering, please email or text me at 307-272-8585.  I’ll get right back to you.

Gordon Andrus  

New Flame Colored Stainless Steel Swivel Knives

How to order

-UPDATE- These are now selling for $220.00.

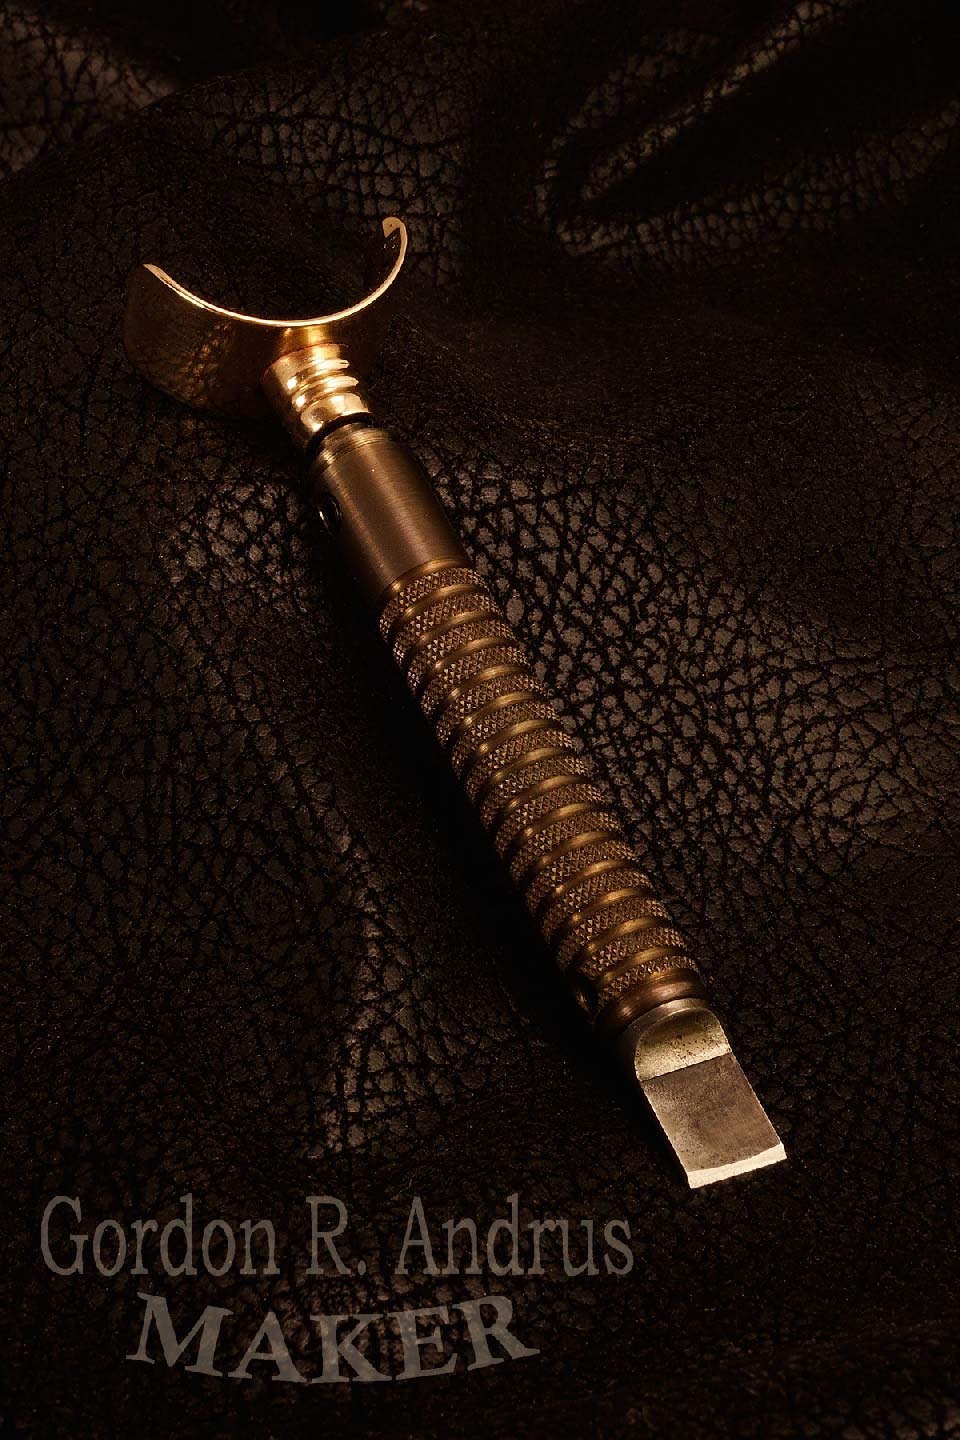
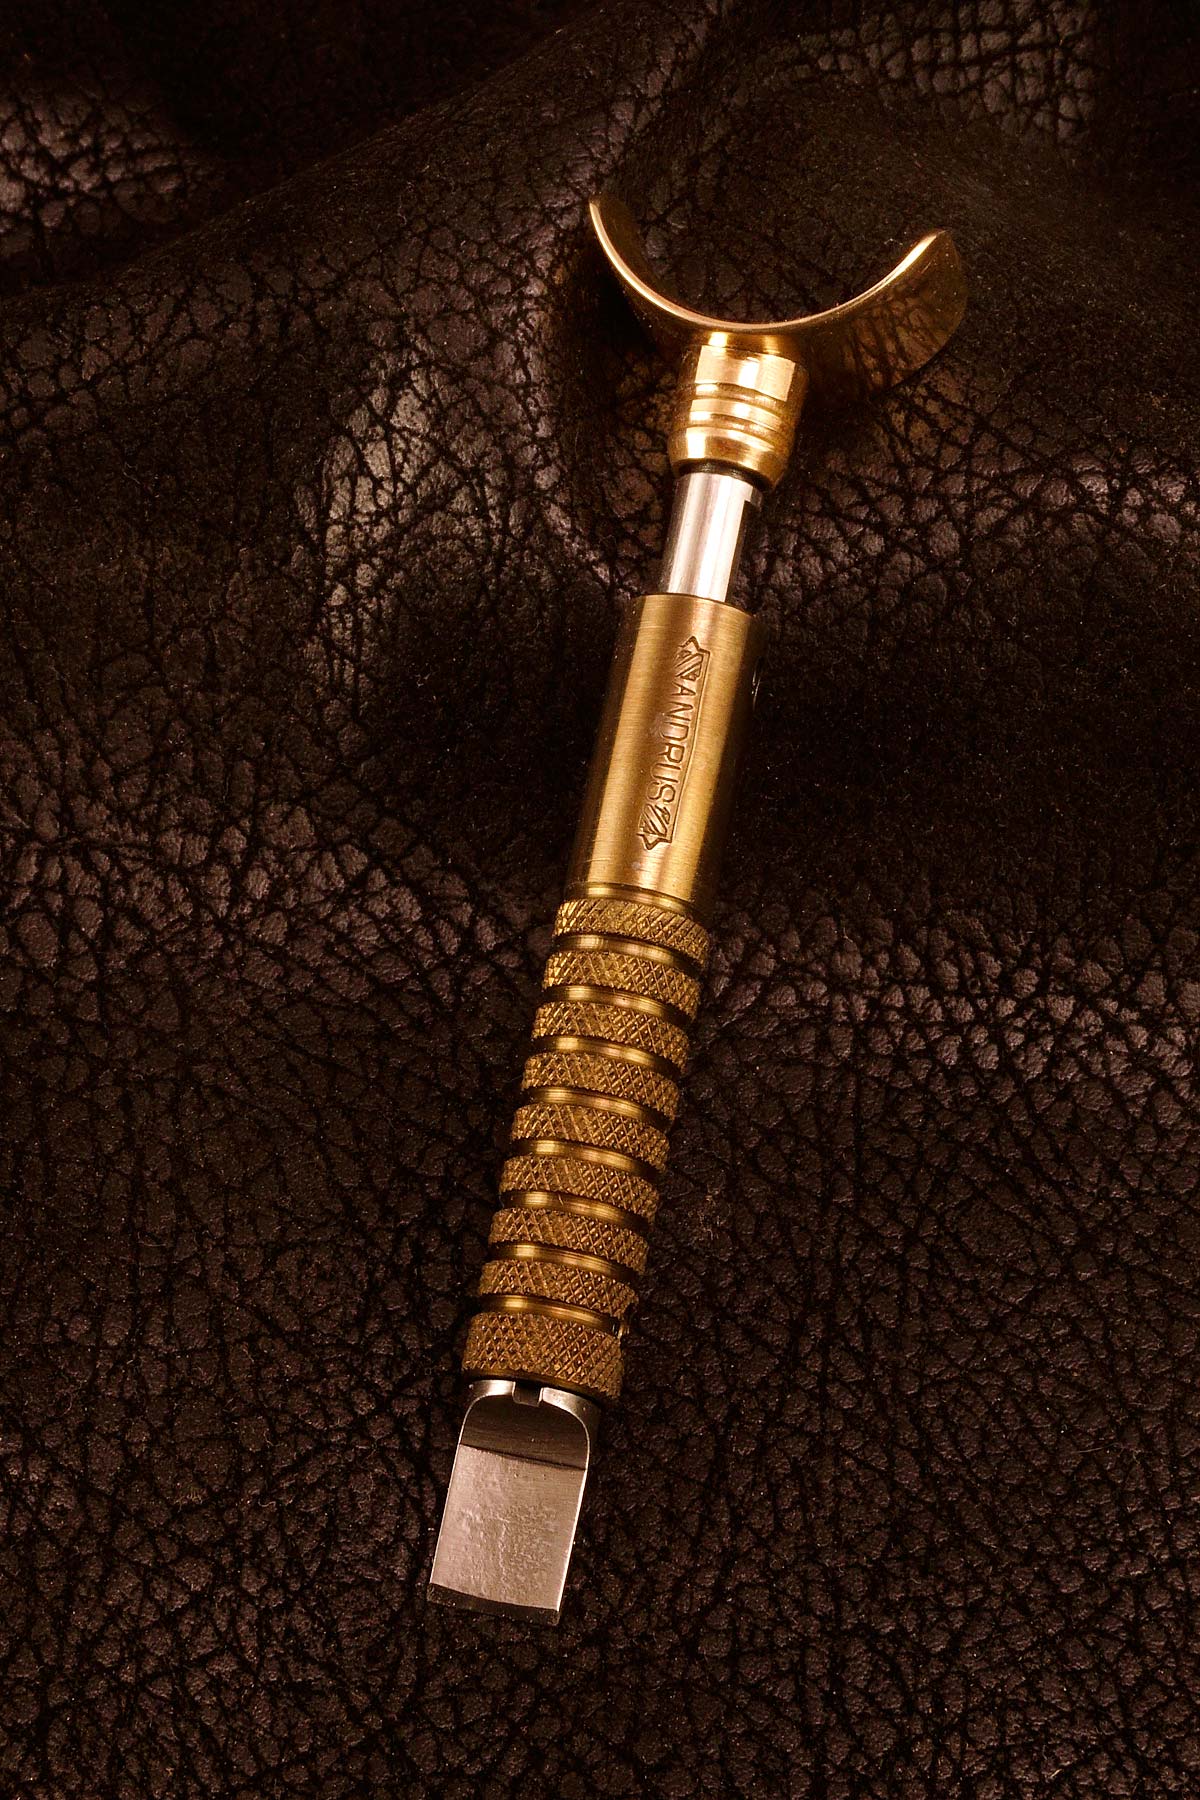
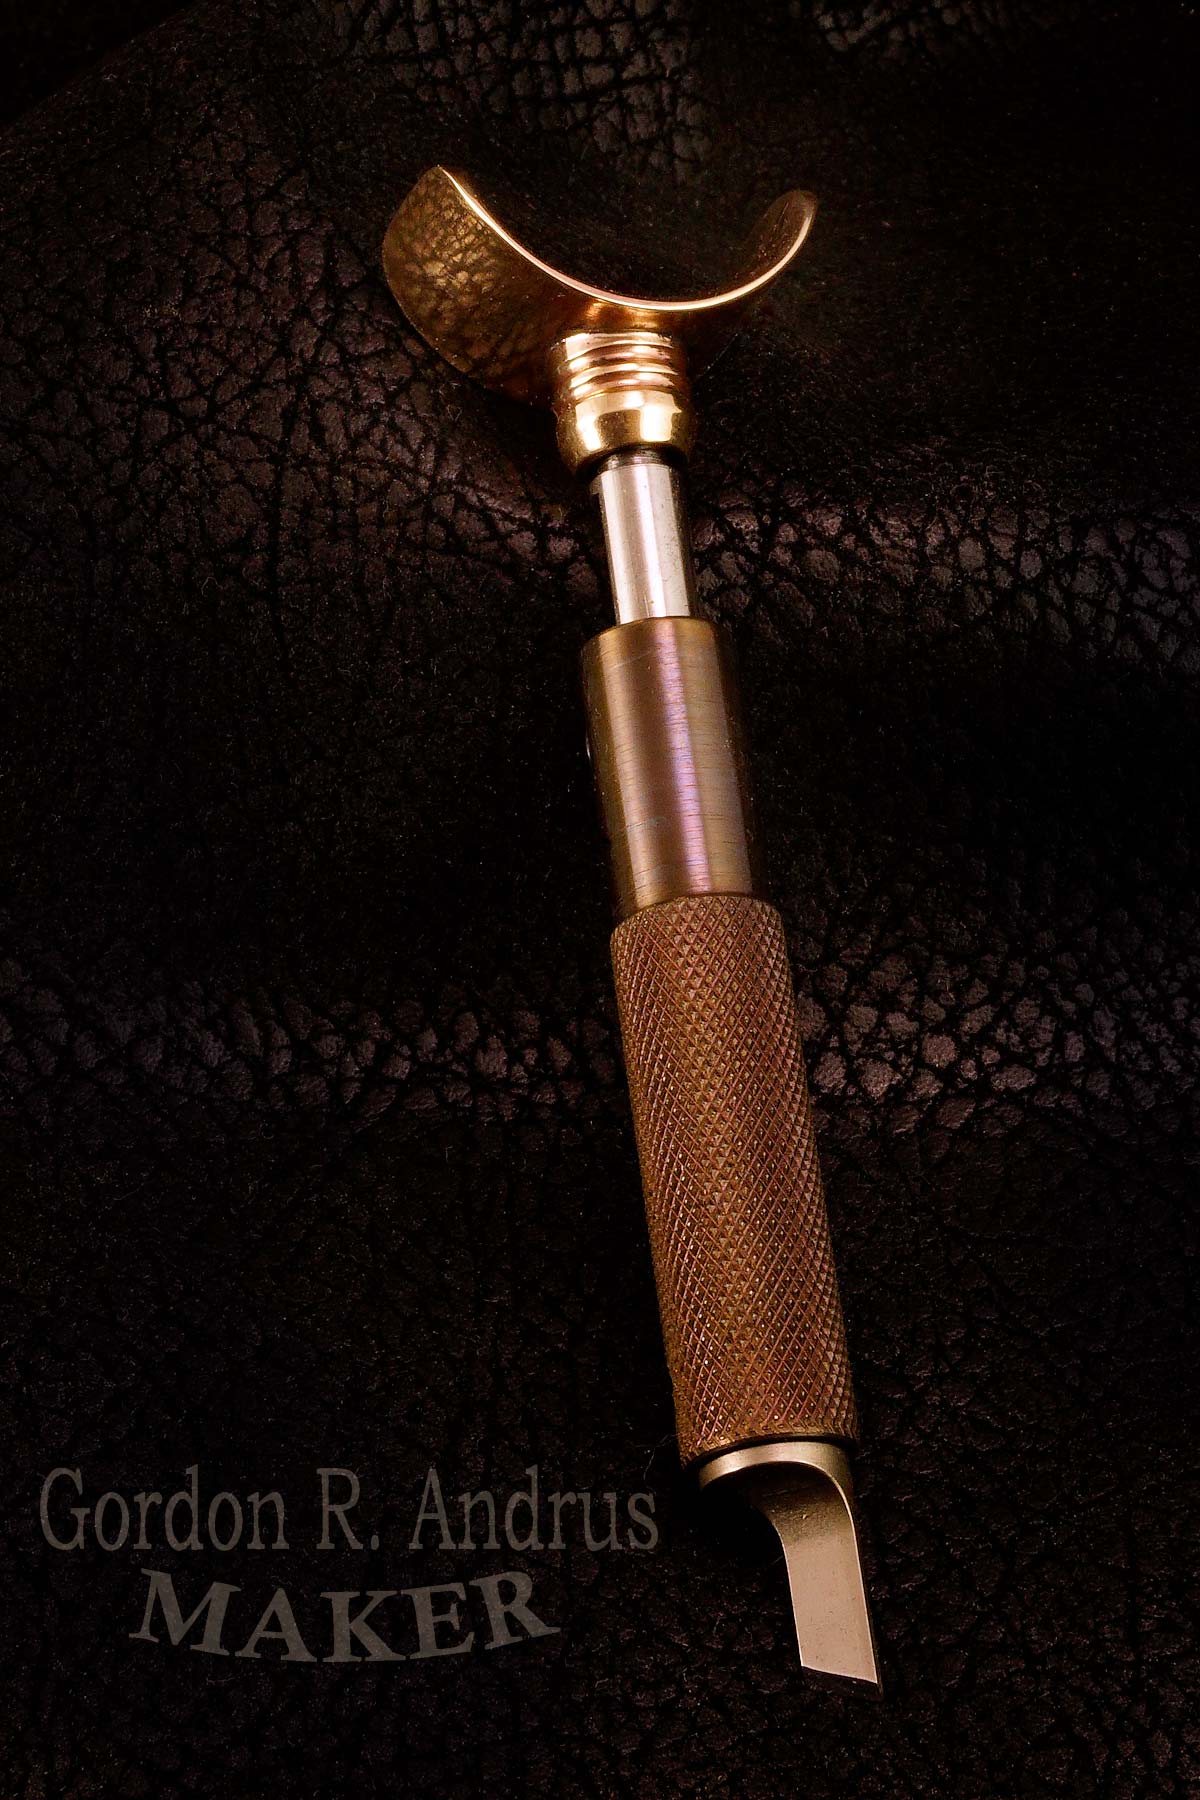
I’m making these new knives personally one at a time.  They will be made to order with sizing specifics determined by you the customer.  They are flame-colored stainless steel. The knurling has the best grip of any knives I’ve ever used, especially the ones with the annular rings. The yoke has two bearings for stability and is exceptionally smooth. My blades are made of D2 blade steel. To order one I just need an email address, shipping address, and phone number, to send an invoice That you will be able to securely pay online.  Email to scsaddle@yahoo.com

Please specify the barrel length and diameter that you would like for your knife. The three in these pictures are 7/16″. Other choices are, 3/8″, 1/2″, 9/16″, and 5/8″.

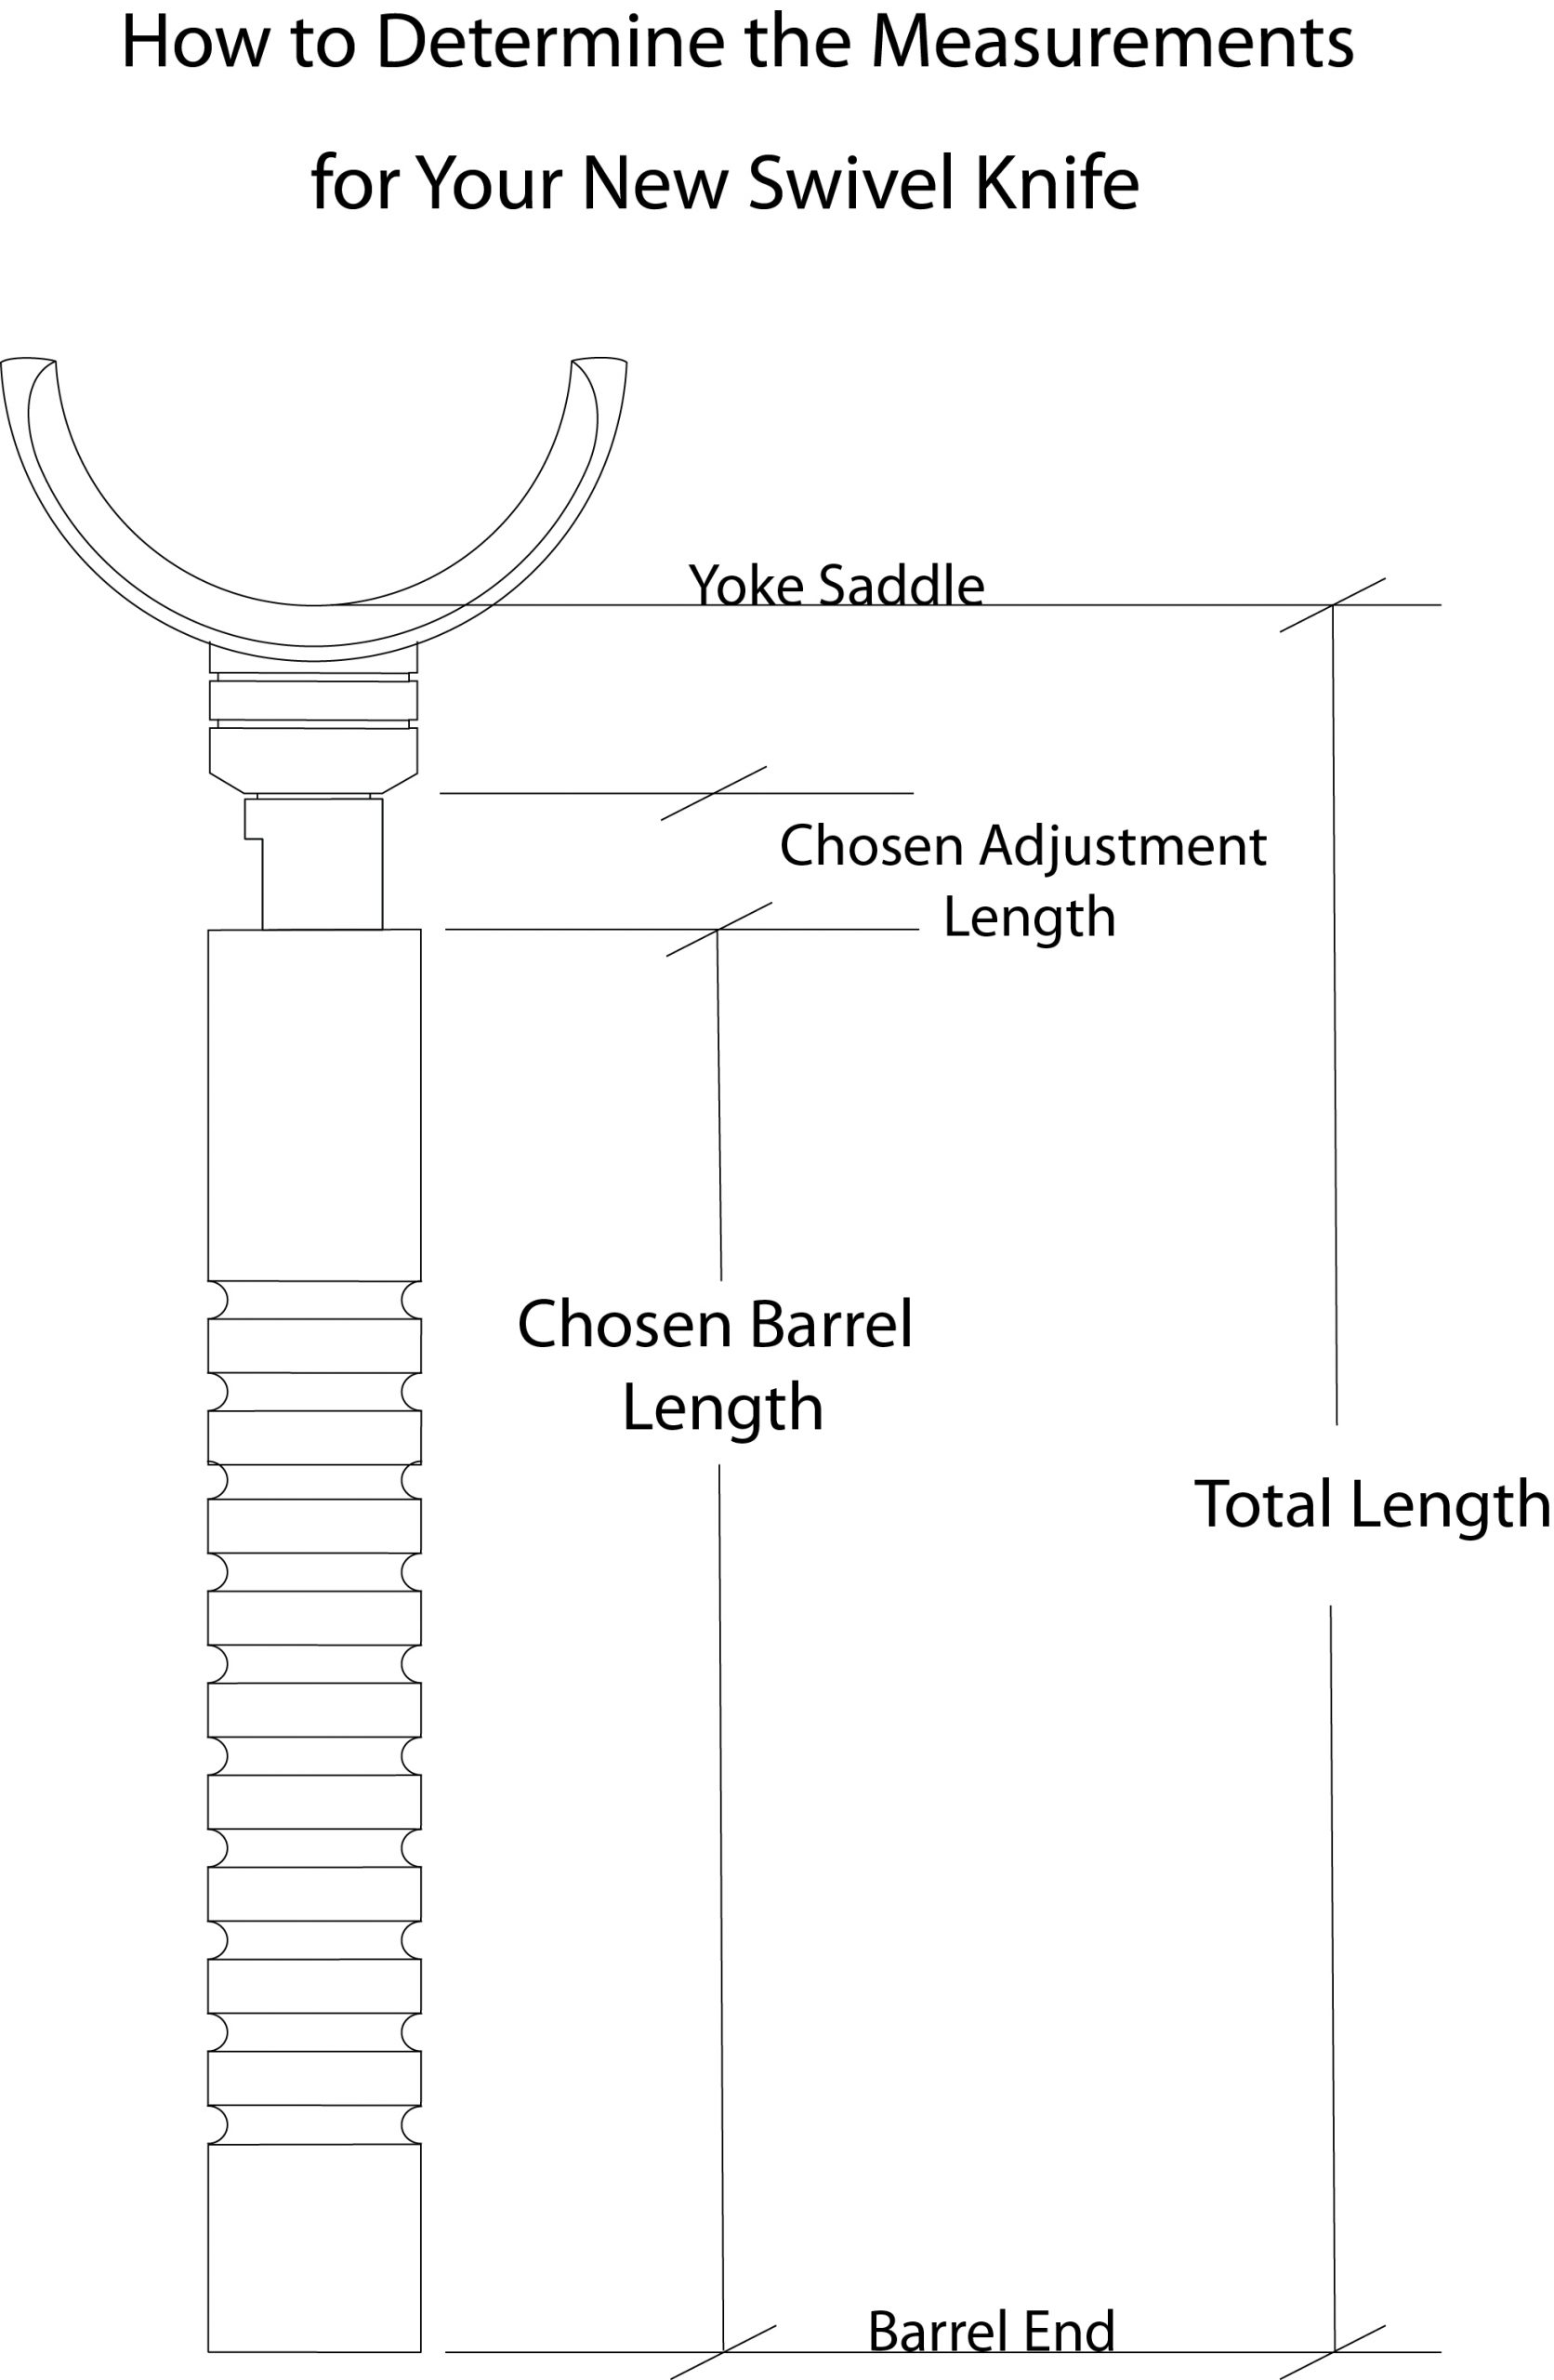
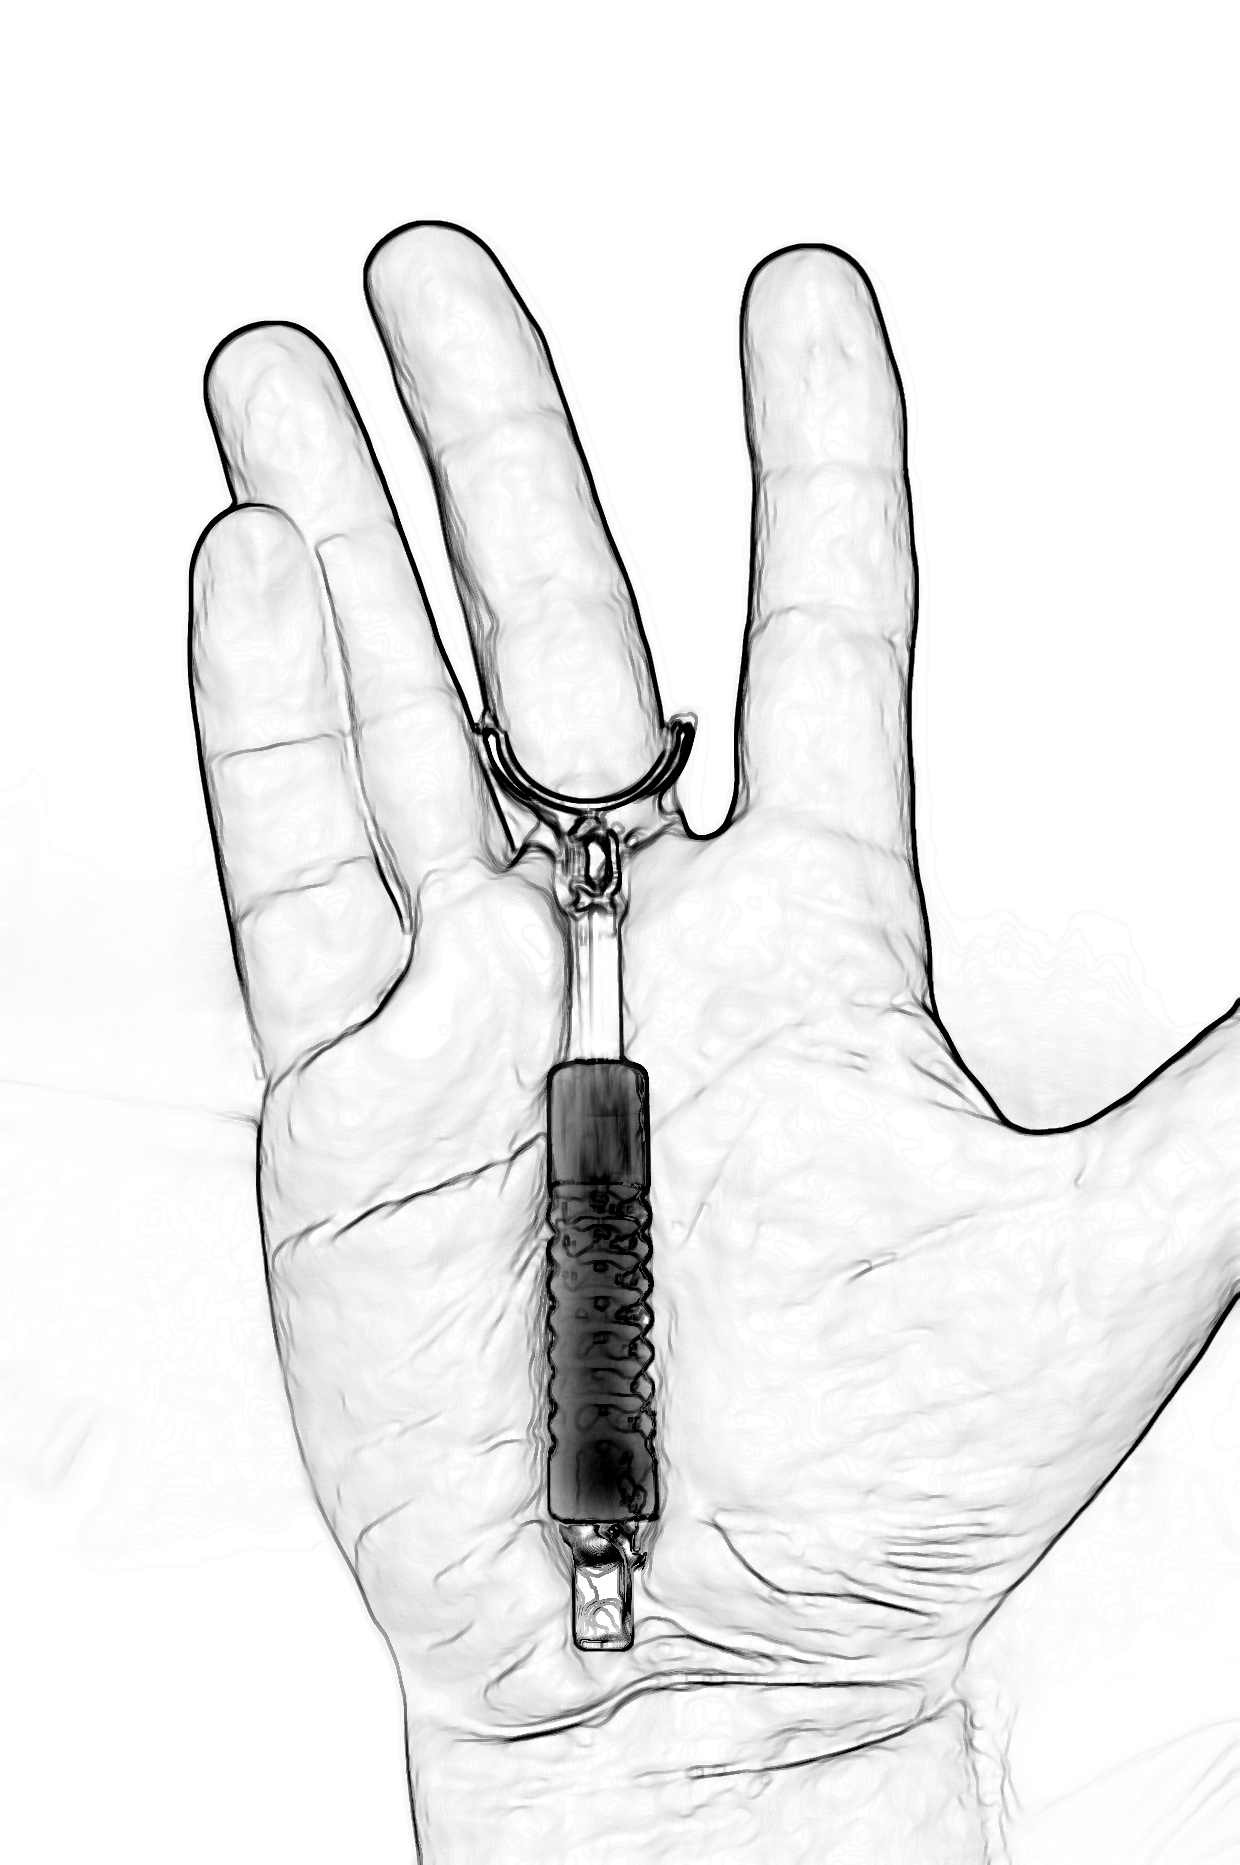
To determine the length of the barrel that you want, study the picture to the right.  You need to measure your current knife from the yoke saddle to the end of the barrel without a blade.  Then, decide how much adjustment you want the new knife to have beyond the top end of the barrel.  The knife can be made with the barrel top right below the yoke, or you can choose to have some adjustment room to set it shorter if needed.  All knives are able to be set longer than the chosen barrel length.

To order a knife I specifically need the barrel length that you decide upon and the barrel diameter.

The picture at the far right illustrates a method that has proven particularly good for determining a swivel knife’s length based on hand size.  It might be a good idea to try this with a knife that you currently use before measuring for your new knife.

I’m very excited about these unique knives and appreciate the opportunity to make them available to you.
Gordon

Knife length

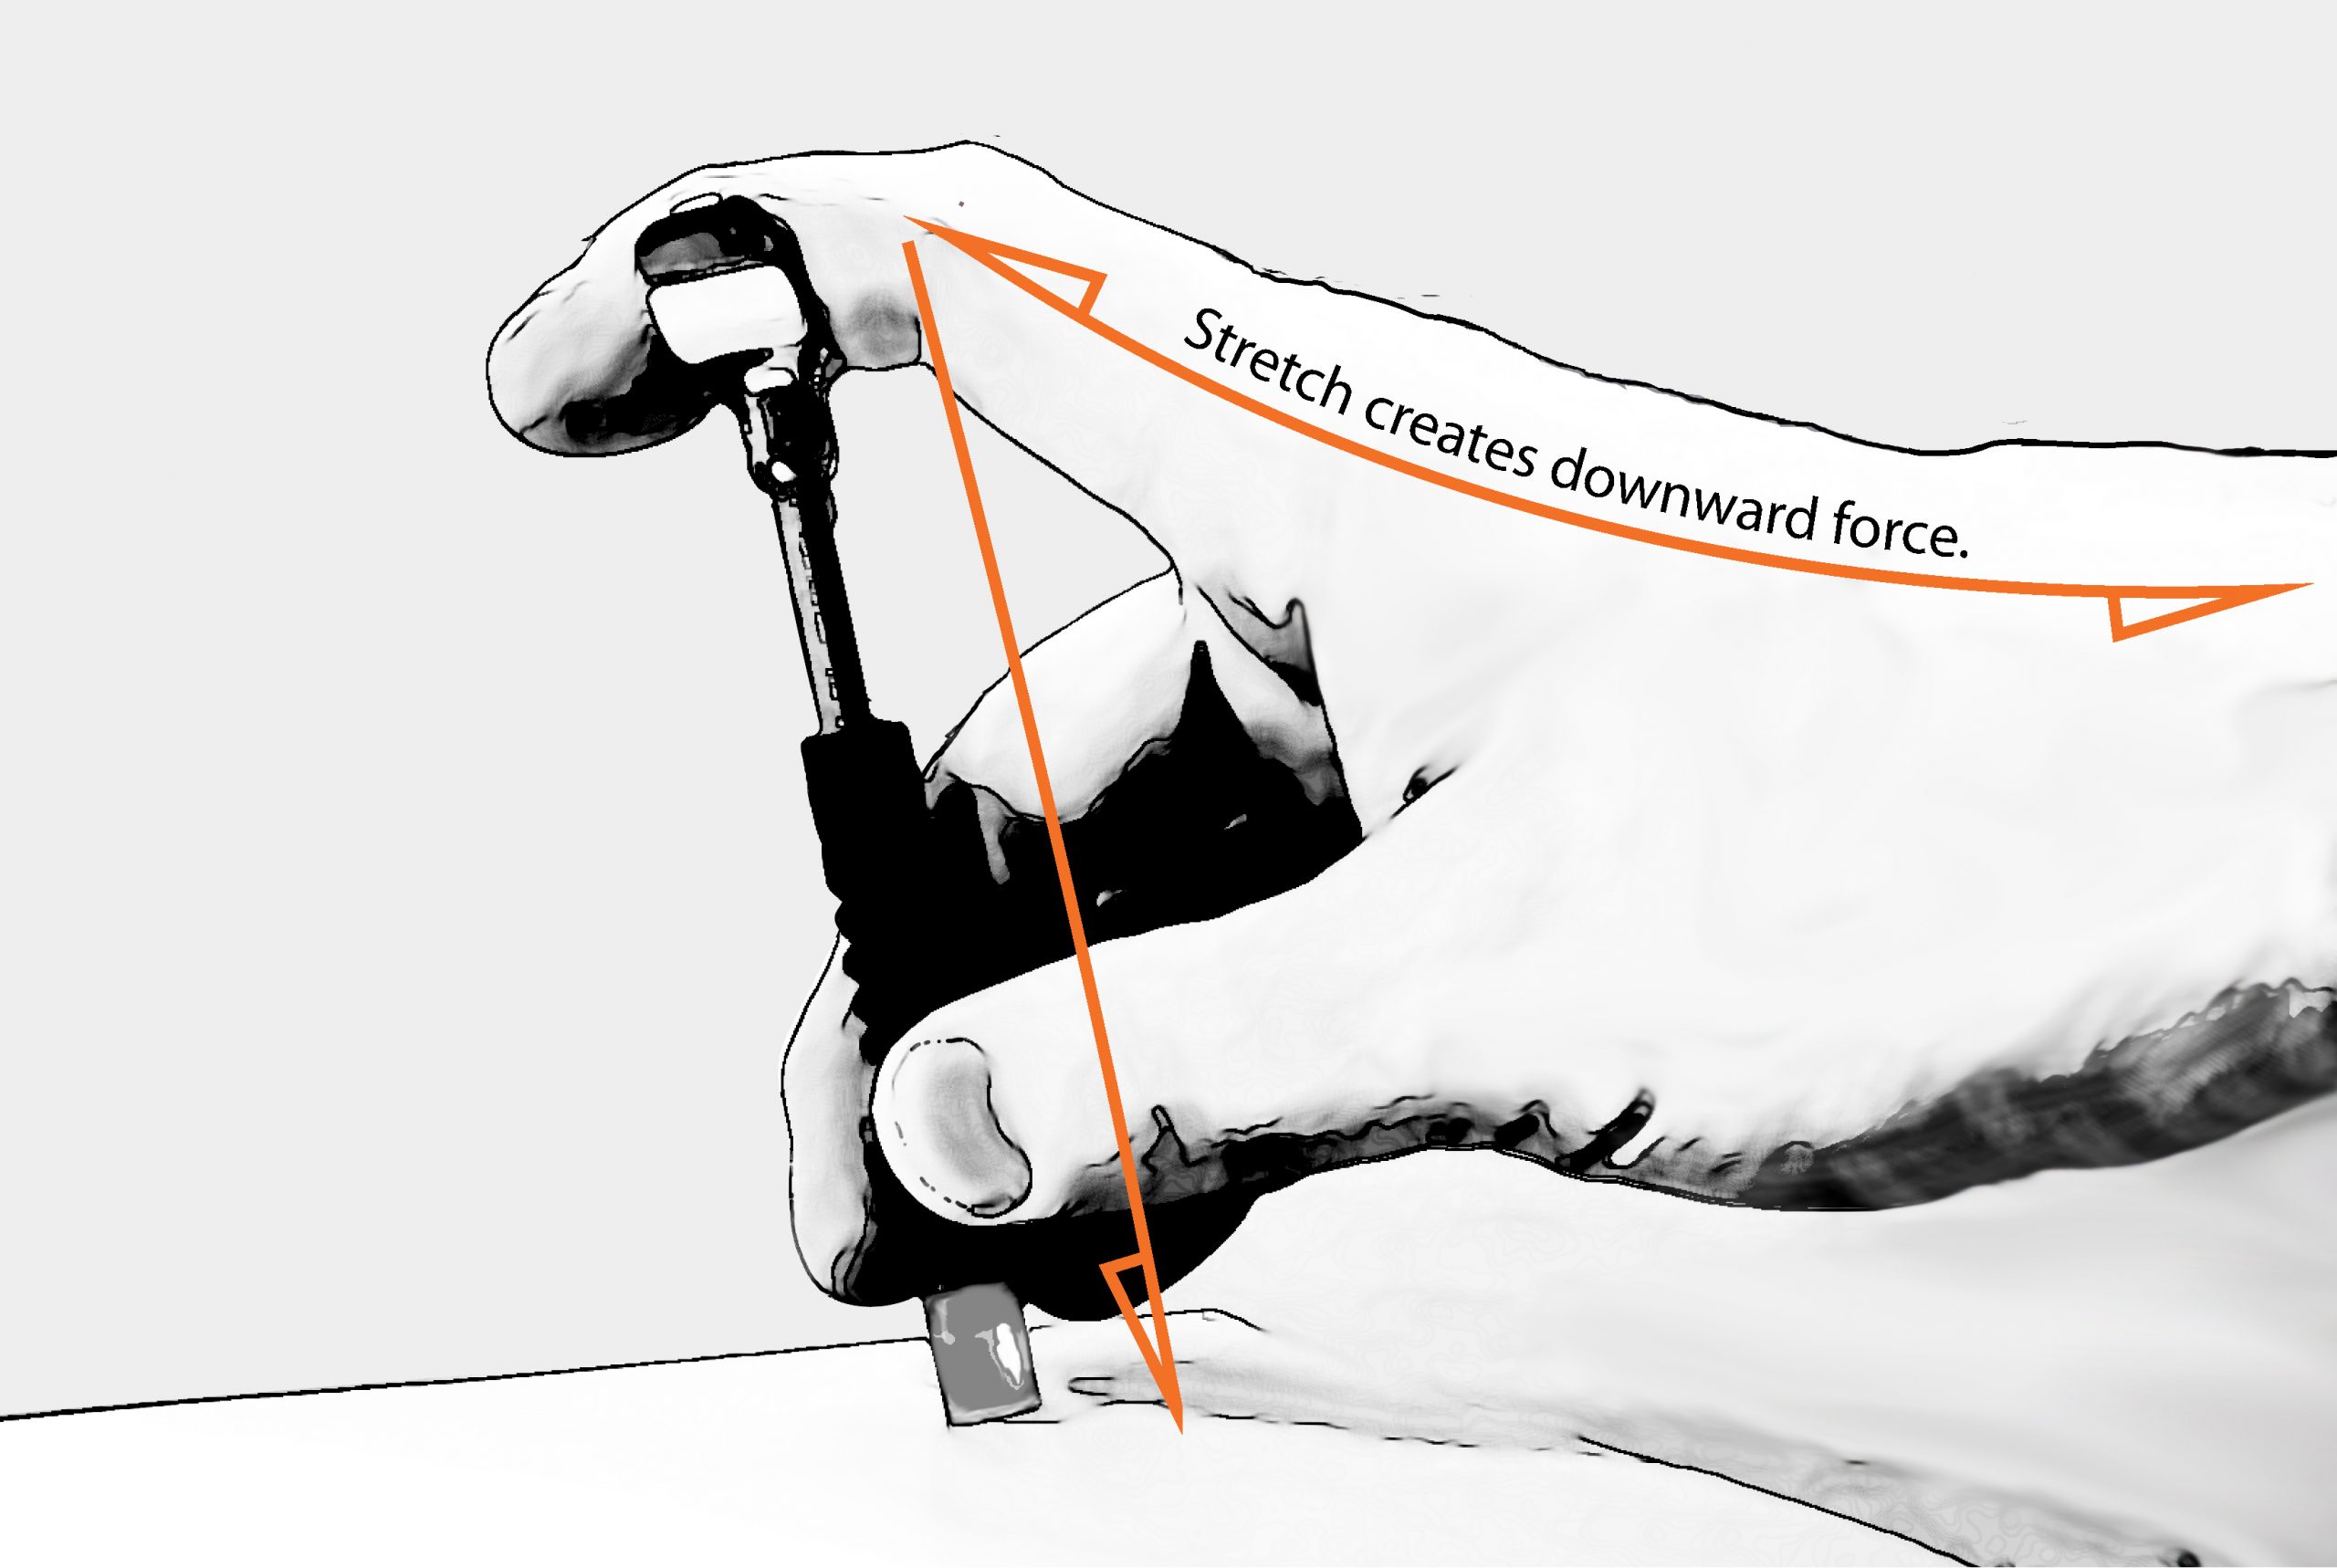
From my book “Harmony and Life in Leather

“Understand the swivel knife and the ergo­nomics of its use.”

The knife, in the picture to the right, has been adjusted using the above method of finding the length from your hand size.  It may be longer than many folks are accustomed to. Also, note that the fingers and side of the hand are up, off of the work surface, as are the forearm and elbow, freeing up the joints of the arm to move. The length of the knife is such that a natural stress is set up, in the index finger, which automatically pushes the knife downward into the leather. If you have always adjusted your knife to be shorter than this, you may think that this feels awkward. In fact, people who make this adjustment gain a great deal more control. With your hand and arm free of the bench top, you are free to move all of the linkages in your arm, to make long, flowing cuts that taper over their entire length.

Plans of Procedure

Plans of Procedure

When Starting out as a full time saddle maker, I kept a plan of procedure for each of the various rigging types that I was called on to build.  These plans were constantly being updated as I proceeded from saddle to saddle.  Here are some of the documents that I worked up back then.  I don't do things exactly like this now, and in some cases have changed things quite a bit.  My hope is that these might be helpful to some of you just starting out, and that they may provide a guide to your own note taking.  When I was building mostly contract saddles this approach really helped to develop efficiency and speed in my workflow.

The fourth PDF here is a copy of the notes I made when teaching other makers to build the hunting saddles that we were contracted to produce.

Fitting and Costructing-drop plate rigging
Fitting and Constructing in skirt
Fitting and Constructing in skirt and hubbard

Fitting hubbard skirt jockey