I recently had a friend from Slovenia email and ask about my method for finishing my tooled leather. I’ve wanted to take the time to write this information and answering that email has given me the perfect opportunity.
I want to share this here to thank the followers of this blog and especially all my customers. Please read with my hope that you will find this useful in your work…
My process for finishing tooled leather is as follows.
When tooling has dried, apply Neatsfoot, or olive oil with a piece of saddle shearling fleece sheepskin (used to line western saddles) which has been trimmed to about 15mm and roughly 70mm x 100mm. I apply the oil with one half of the fleece as evenly as I can in a circular motion and then immediately use the un-soaked half, or another piece of fleece, to wipe and even out the oil application. You can let the work sit for a brief time and allow the oil to penetrate somewhat. You don’t have to leave it overnight as some people claim.
I use nitrocellulose lacquer that is made for finishing guitars to seal the surface and provide a resist for the antique (Fiebing’s, I like the tan color for most things, Dark Brown for brown colored skirting). Use a piece of fleece for this lacquer also. It will take some practice to get this mastered. You don’t want it to be thickly applied. I do the same with lacquer as with oil, wiping it with a cleaner piece of fleece before it can start to dry. Lacquer dries extremely fast and will become messy and sticky if you let it build up. You don’t want to be able to see a coat of lacquer on the leather the way you would with paint or varnish on wood. This film of lacquer will be dry in minutes, and you can move straight on to apply the antique paste. Again, no waiting overnight as some would tell you. Lacquer is not very flexible and will crack if it is applied to thick. If you’ve seen an old guitar with a crazed/cracked finish you will understand what I mean.
I thin my antique paste to the consistency of thick cream. It is left thick enough that it won’t run off from a paint brush. I use mineral spirits, a paint thinner here in the US known as Naphtha. Any type of mineral spirit paint thinner will work. I apply the antique with a natural boar bristle sash type of round paint brush. These I believe are more common in Europe. With this type of brush, I can pounce, or push the antique down into all the cuts and details. If the paste is left as thick as it comes from the manufacturer it will not flow into the work the way I want it to or be able to be cleaned off sufficiently. Work quickly, and on most pieces bigger than a wallet it is good to work in sections, so it won’t start to dry and be more difficult to wipe off.
When the antique has been evenly spread and worked into the tooling, I first wipe the excess off with paper towel, then follow immediately with a larger piece of fleece which is left at its full length. The idea is to remove as much of the paste as possible. This piece of fleece will become filled with the antique paste and must be replaced as it fails to remove the paste from the details. I later trim this fleece to be able to use it for other applications such as the Fiebing’s Bagcoat that I use as the final topcoat.
Bagcoat and Tancoat are very similar. Bagcoat is thinner, and I prefer the way it looks as well as the way it goes on. Tancoat can be used. I apply this topcoat with a piece of fleece also, spreading it with a piece that has been trimmed, and then wiping it off with a full thickness piece to create the thinnest film possible. These products leave a beautiful lustrous result; however, they are not durable or water resistant. If used by themselves without the lacquer the work will spot if water is dripped on it. The smallest drop will cause water spotting. This does not happen if lacquer is applied first.
Thanks for checking in, and please leave comments and questions so I can get an idea of the things you folks would like to see covered in future posts on this blog
Gordon-

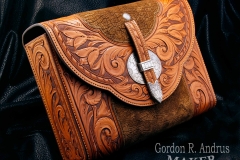
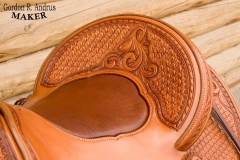
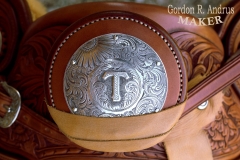
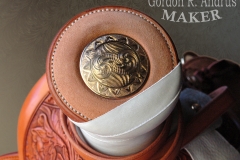
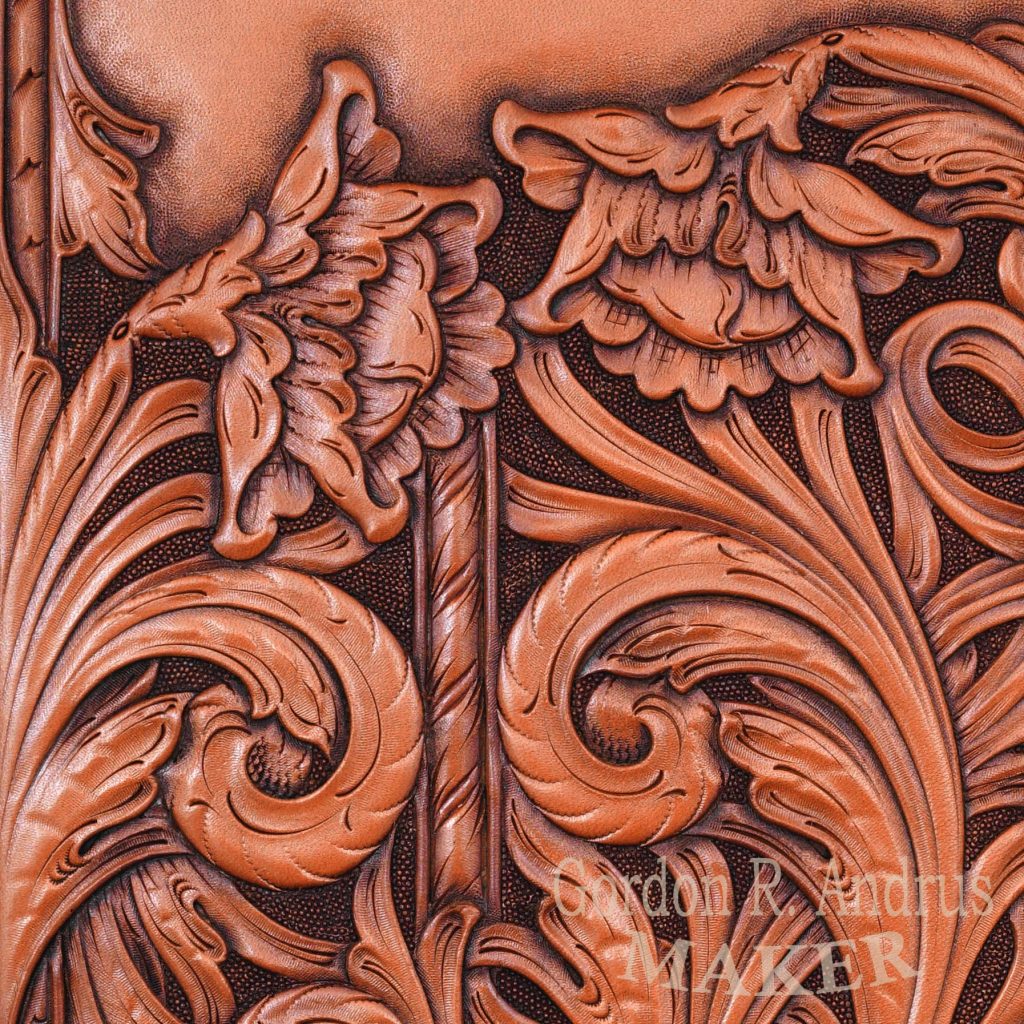
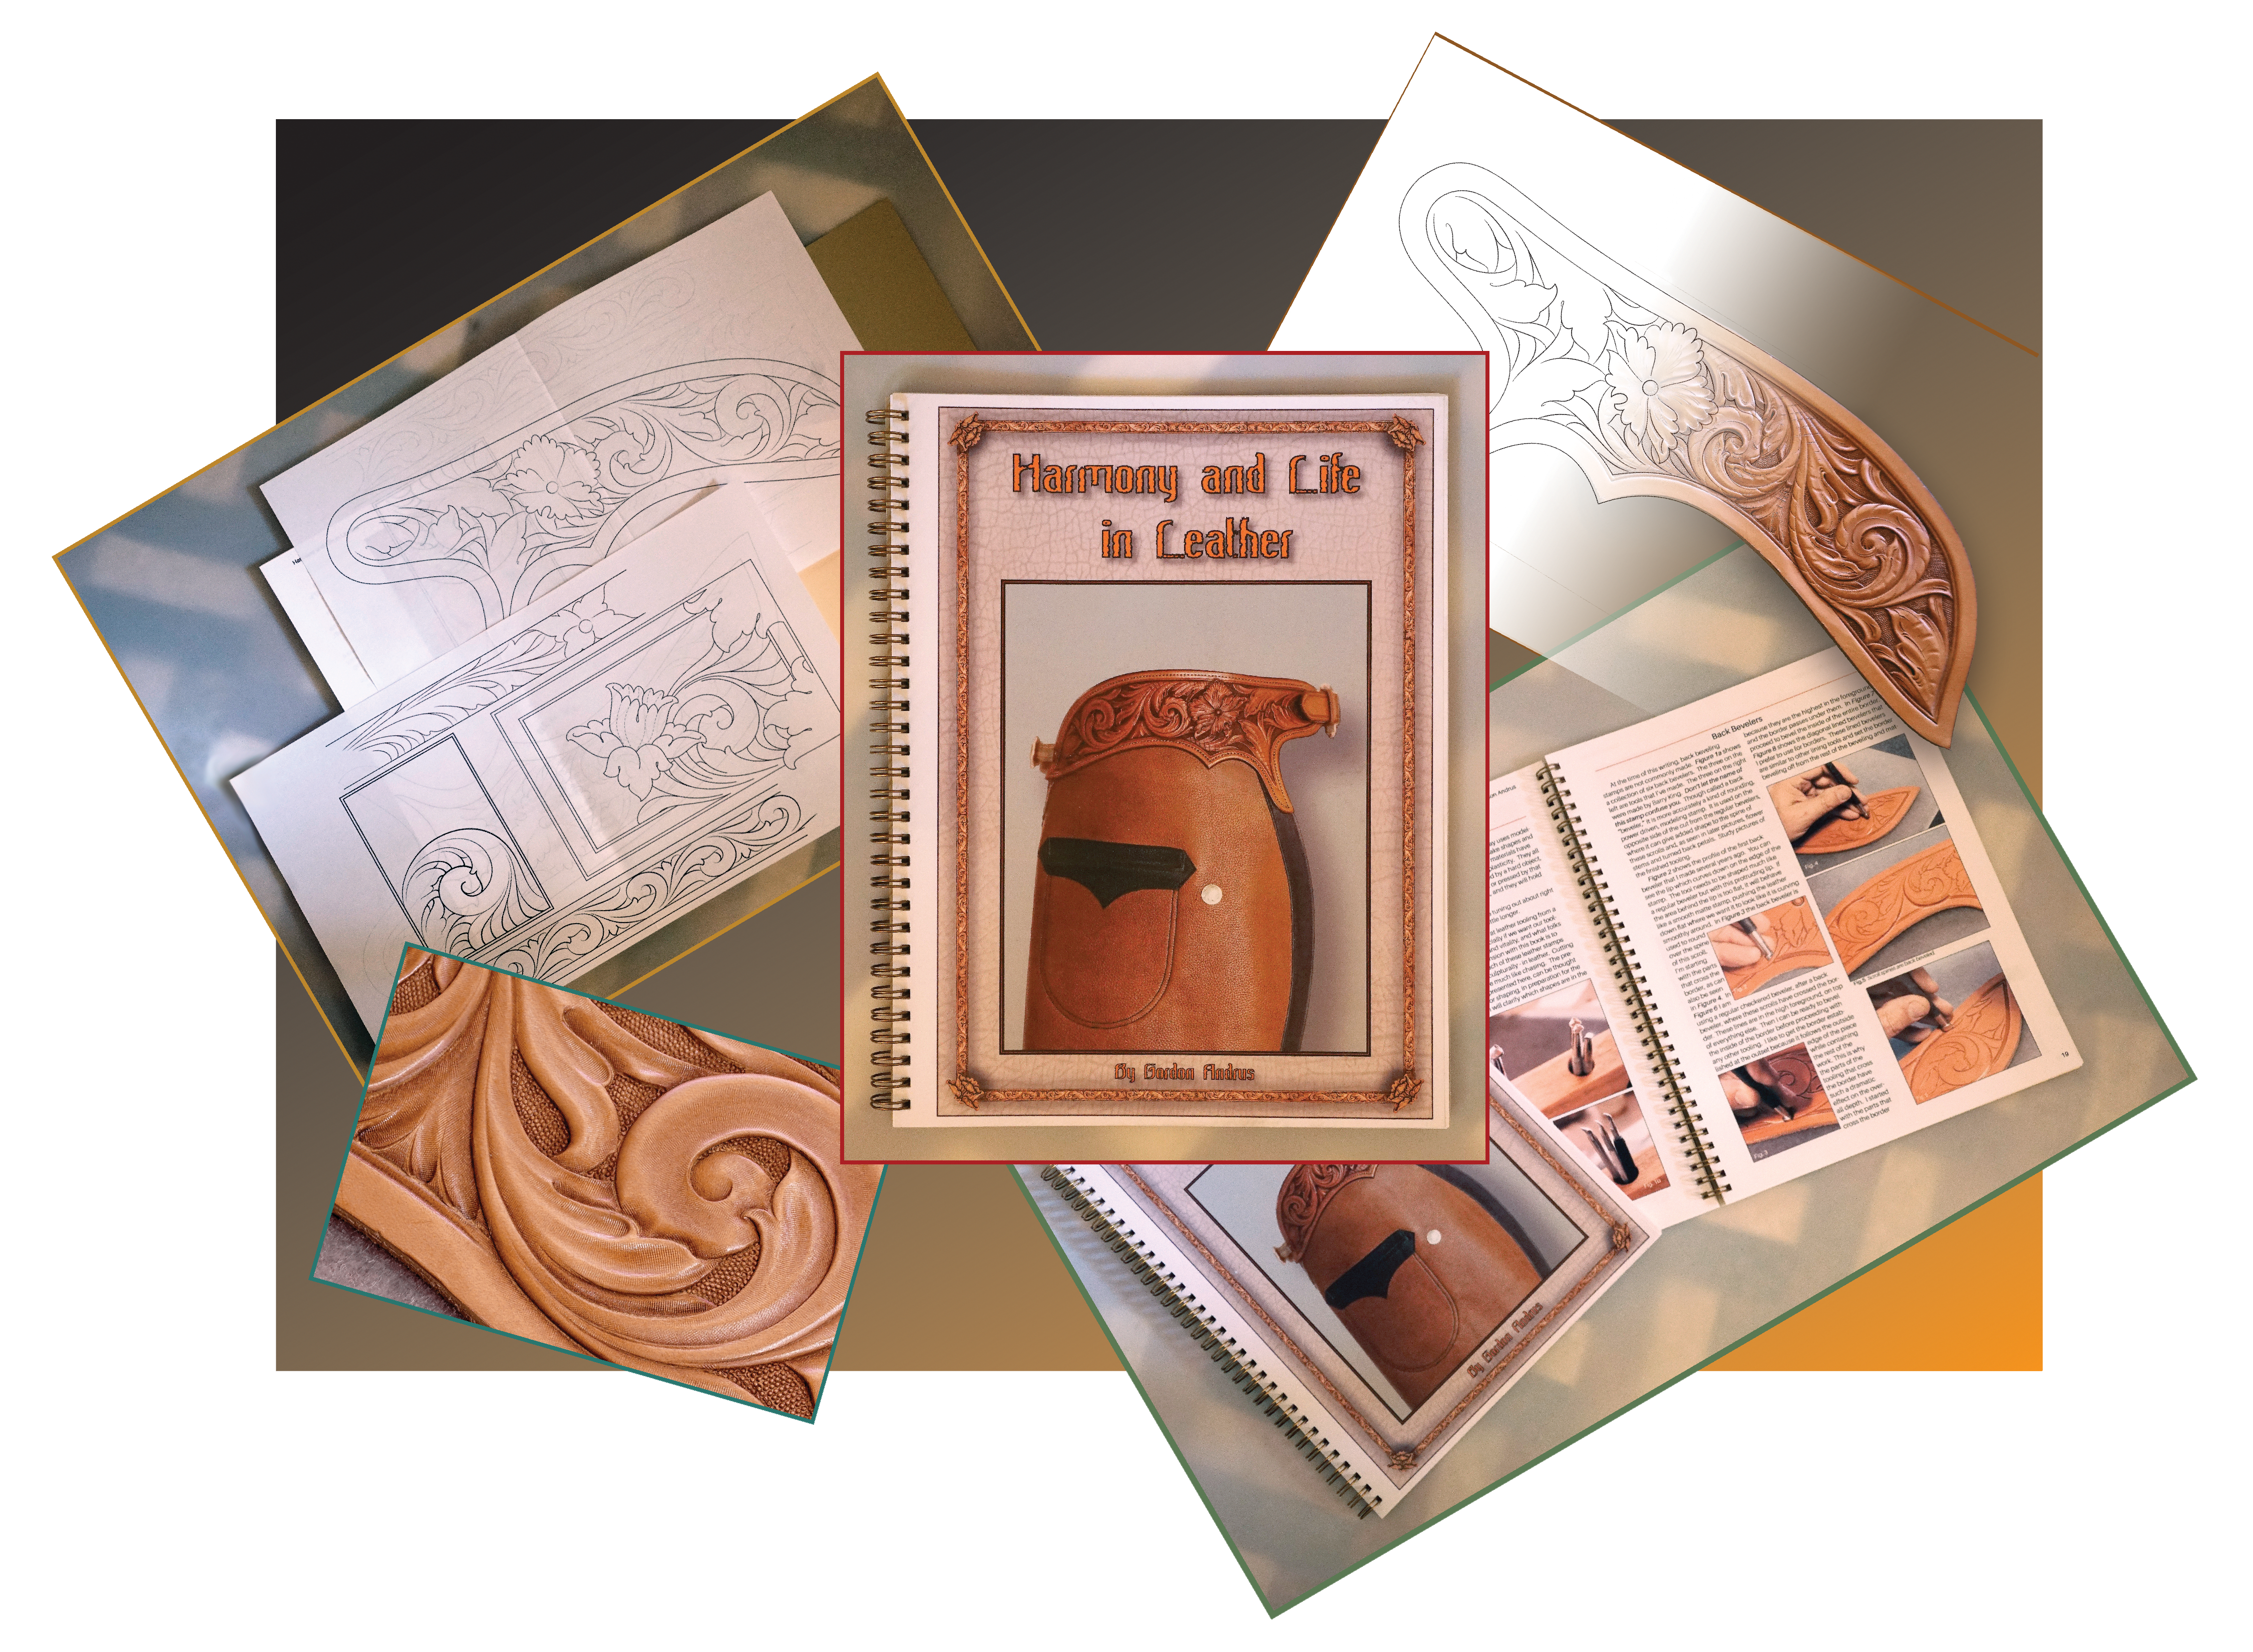
 Well at long last I have this in print and available here at Red Ox Brand Tools. I’m pretty excited about this new book. It comes with several patterns to use with the techniques and concepts that are covered in depth throughout the book. It contains 220 illustrations, and presents a unique insight into the art of ornamental tooling in leather.