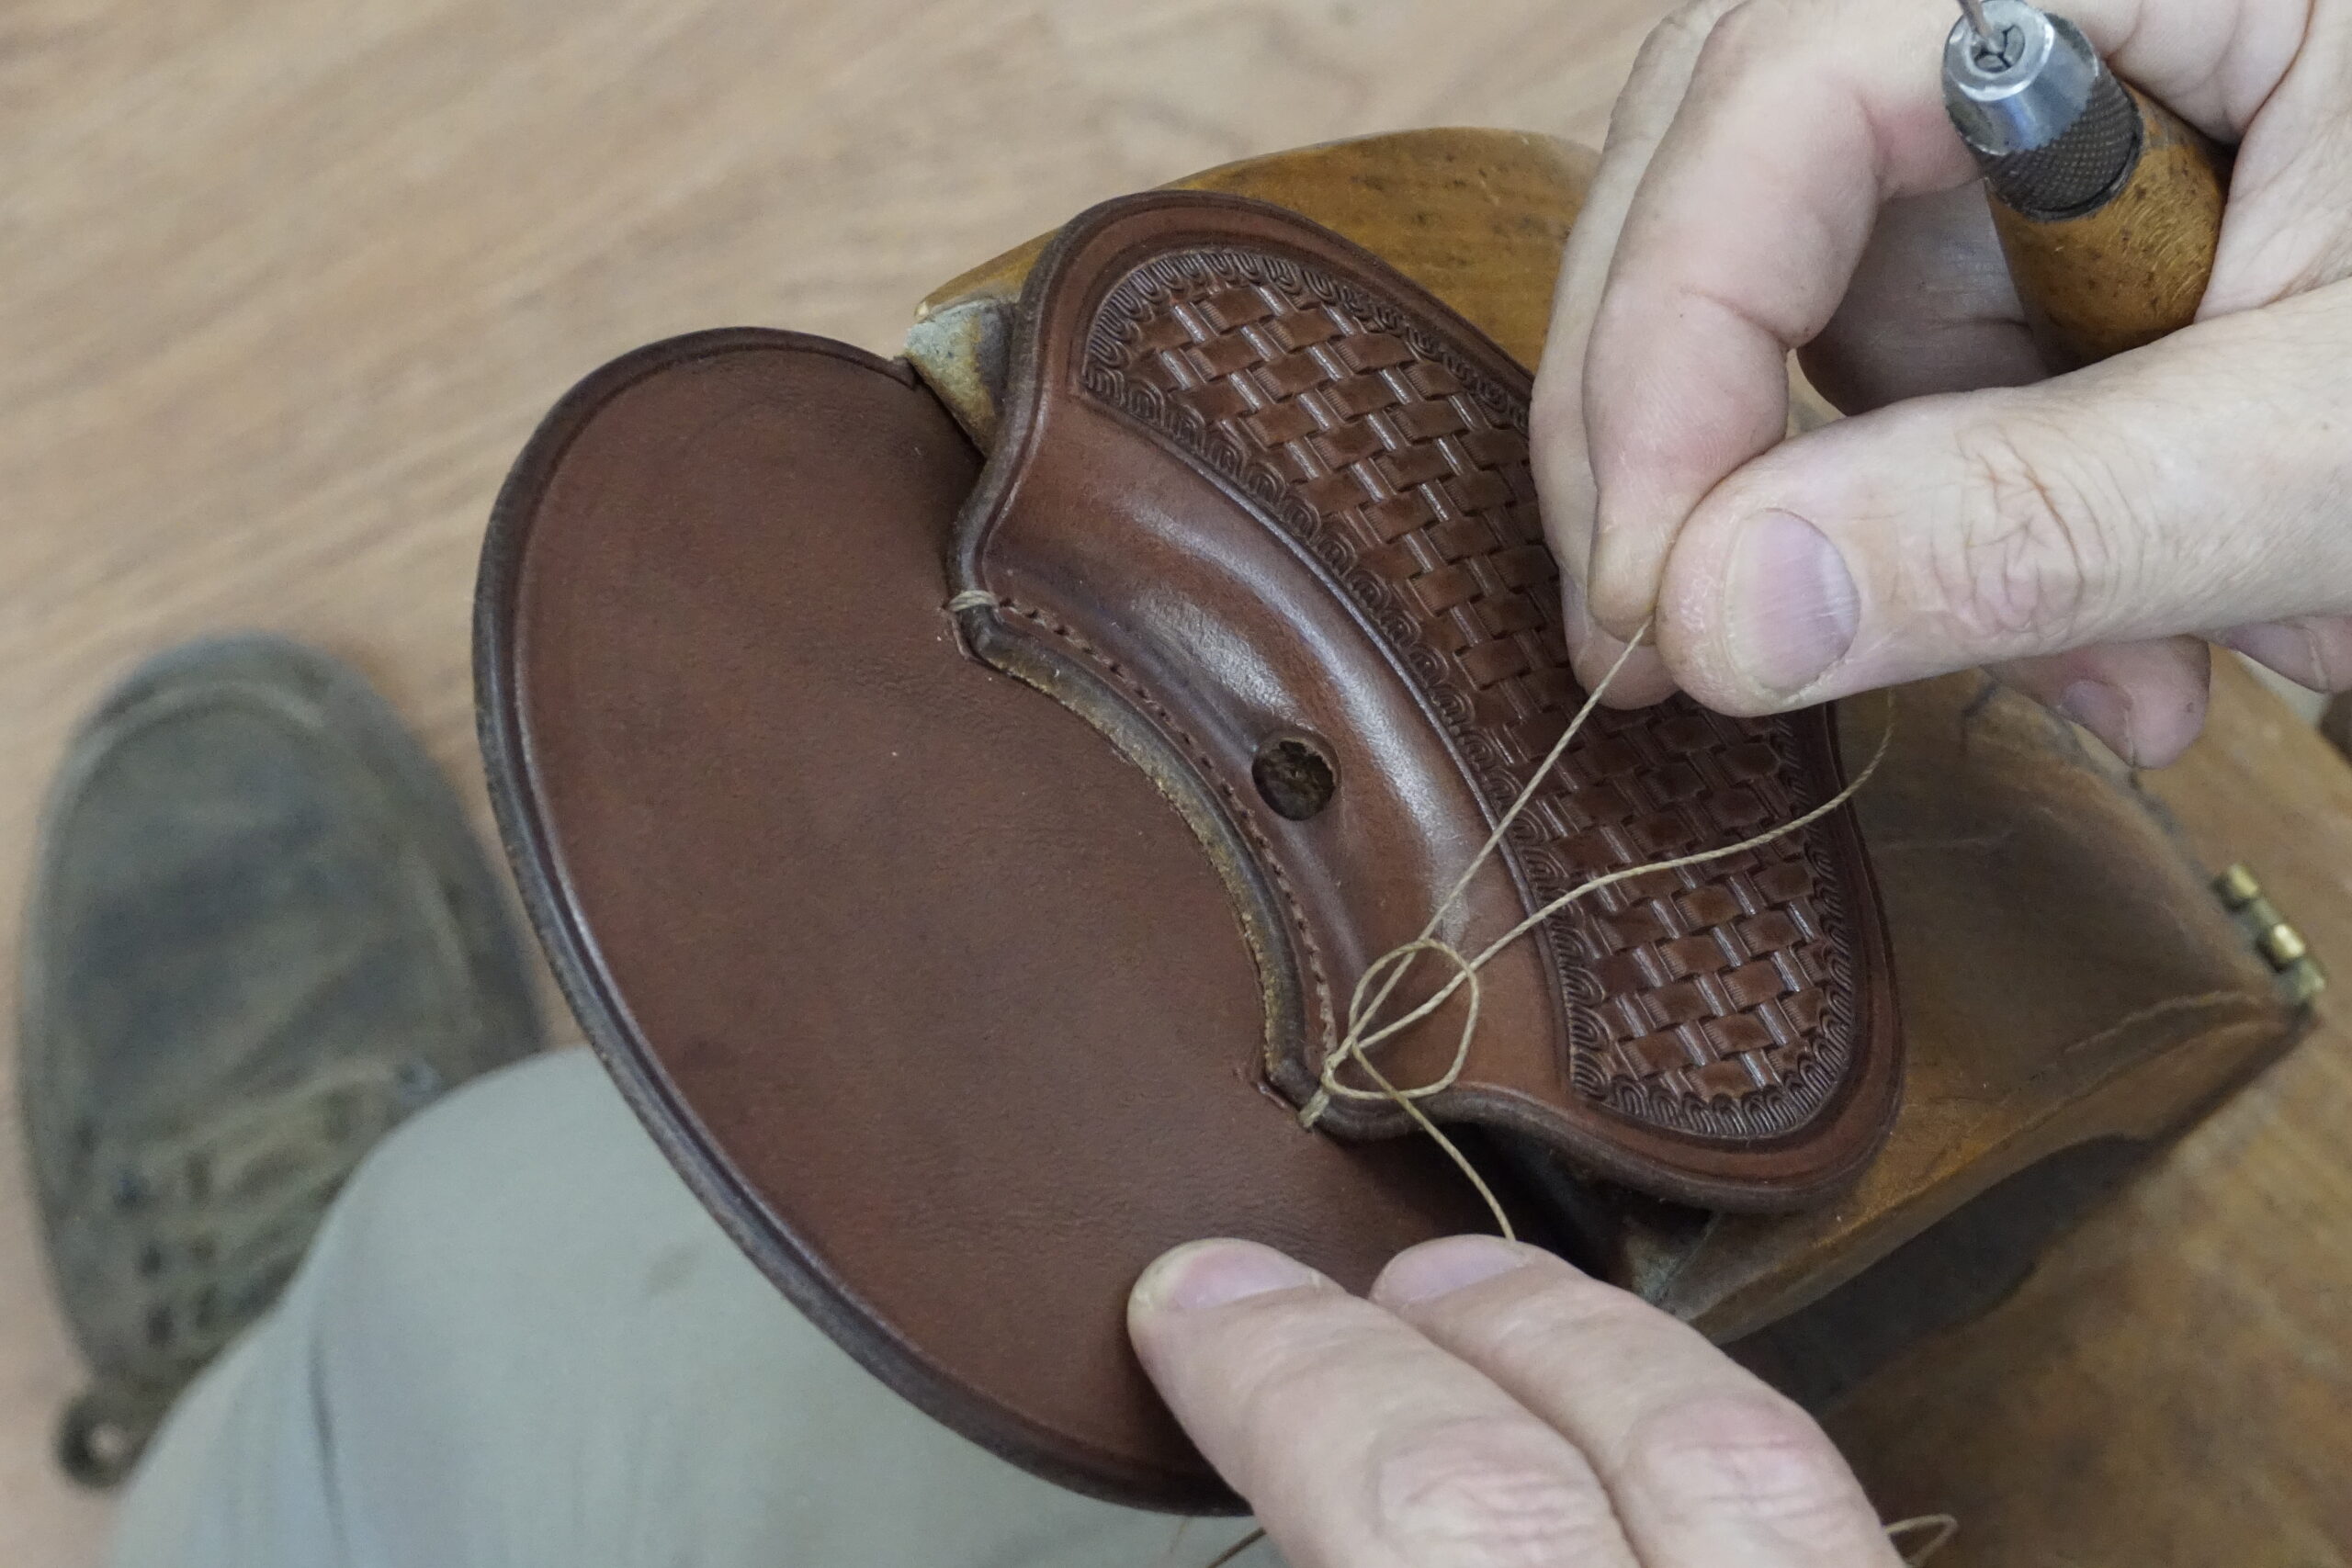
Recent years have seen a resurgence of interest in the simple elegance of hand stitched leather work. Mastery with needle and thread is the most fundamental skill in the leather arts. Stitching leather pieces together is a truly ancient skill, which in times past became an art form. The refinement of this form reached a remarkable level among 19th century shoe and boot makers known as Cordwainers, and references can be found for exhibition work being stitched at 64 to the inch.
"St. Crispin IX, 1873 p.181: case of prize-work for Lobb, including jockey with 60 - 1" (this may be Devlin's.)
1876 Philadelphia Centennial Exhn: Gray Bros., Syracuse, NY exhibited 'welts' made by Sandy McCarthy, including 1 pr with 64 stitches to 1" round the forepart.
Wore 2 pr spectacles to do them." From the Crispin Colloquy. An internet discussion forum for traditional bespoke shoemaking and allied trades.
Shoemakers use a boar bristle like a needle making what is called a "waxed end" to attach it to the thread. The maker James Devlin wrote that when he did this kind of work he used one of his daughter’s hairs as a bristle, fine silk for thread, and that the awl blade that he used could pierce his thumb without pain and without bleeding.
If I hadn't seen so many references to this kind of work, I wouldn't believe it. At that it is still very hard to comprehend. I find that study of the work done by past masters is always a very good source of humility.
I want to take this opportunity to share a handout that I use in my hand stitching classes. I'm currently working on an online course for hand stitching. This step by step reference will be included as part of that course, along with instruction in making butt seams and the box stitch. Courses will include video lessons, slide show presentations and downloadable content. Please register an account here so I can notify you of upcoming coursework and check this blog for more free content that you can use and share with friends.
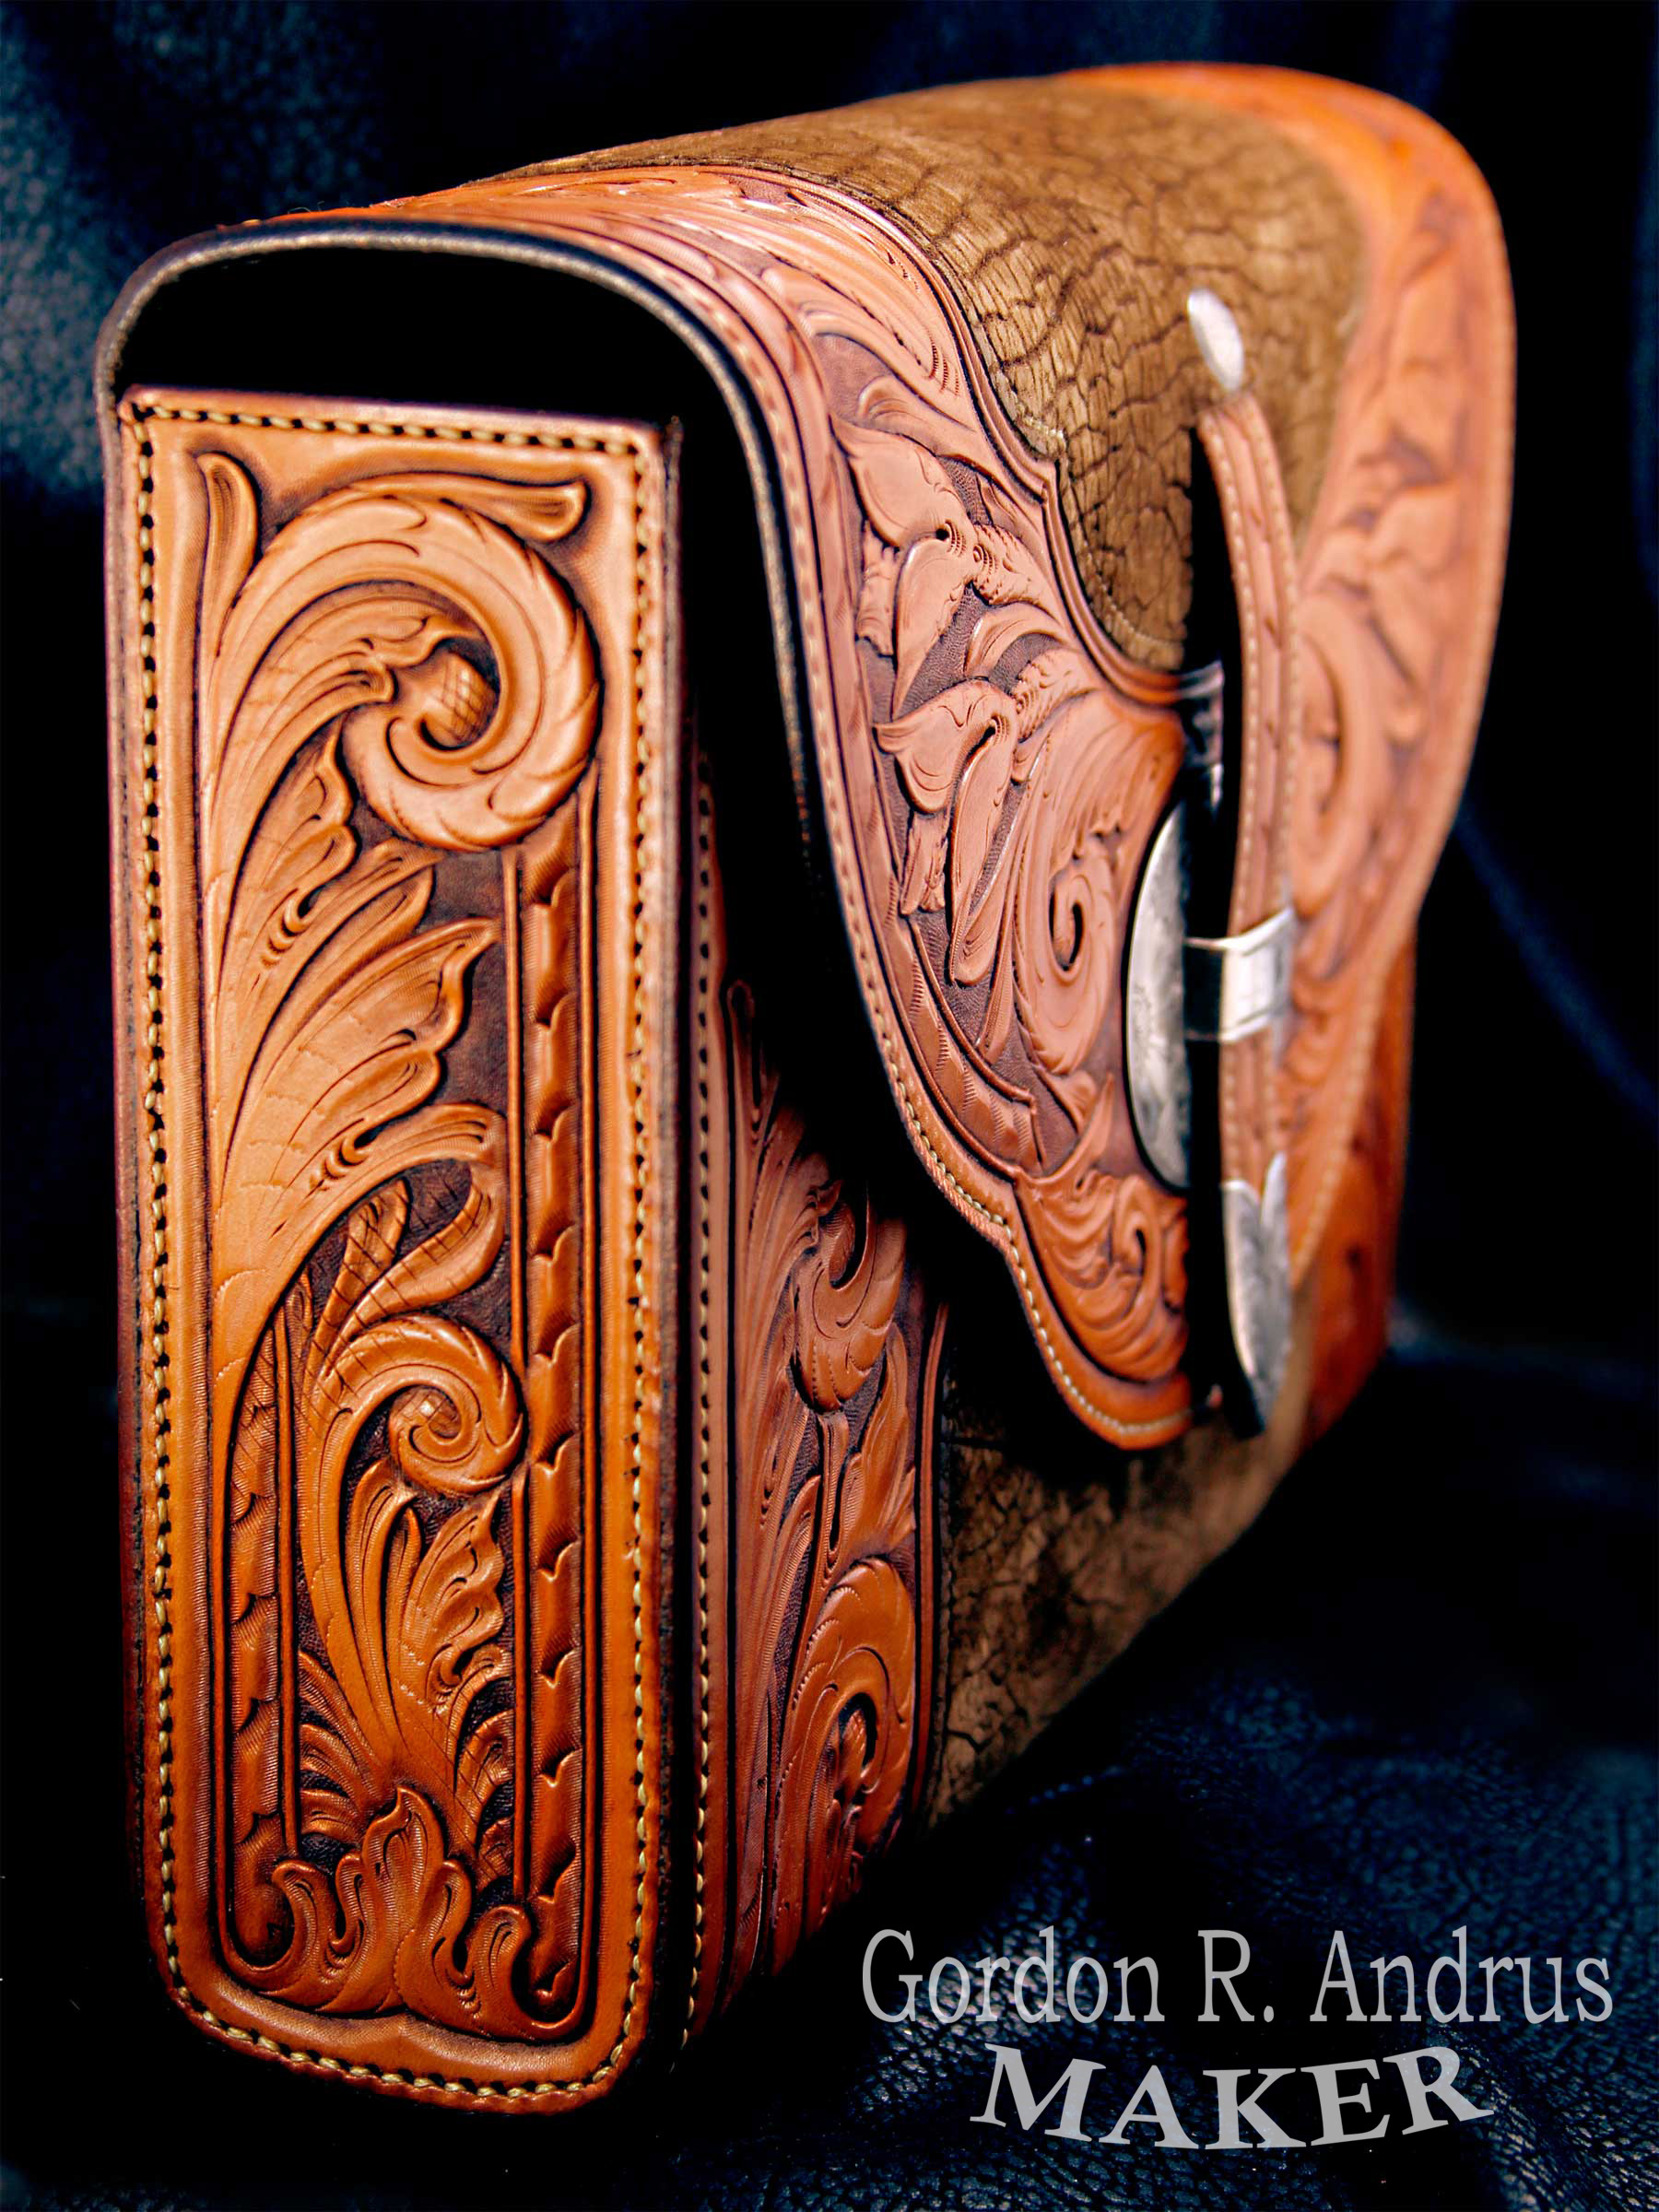
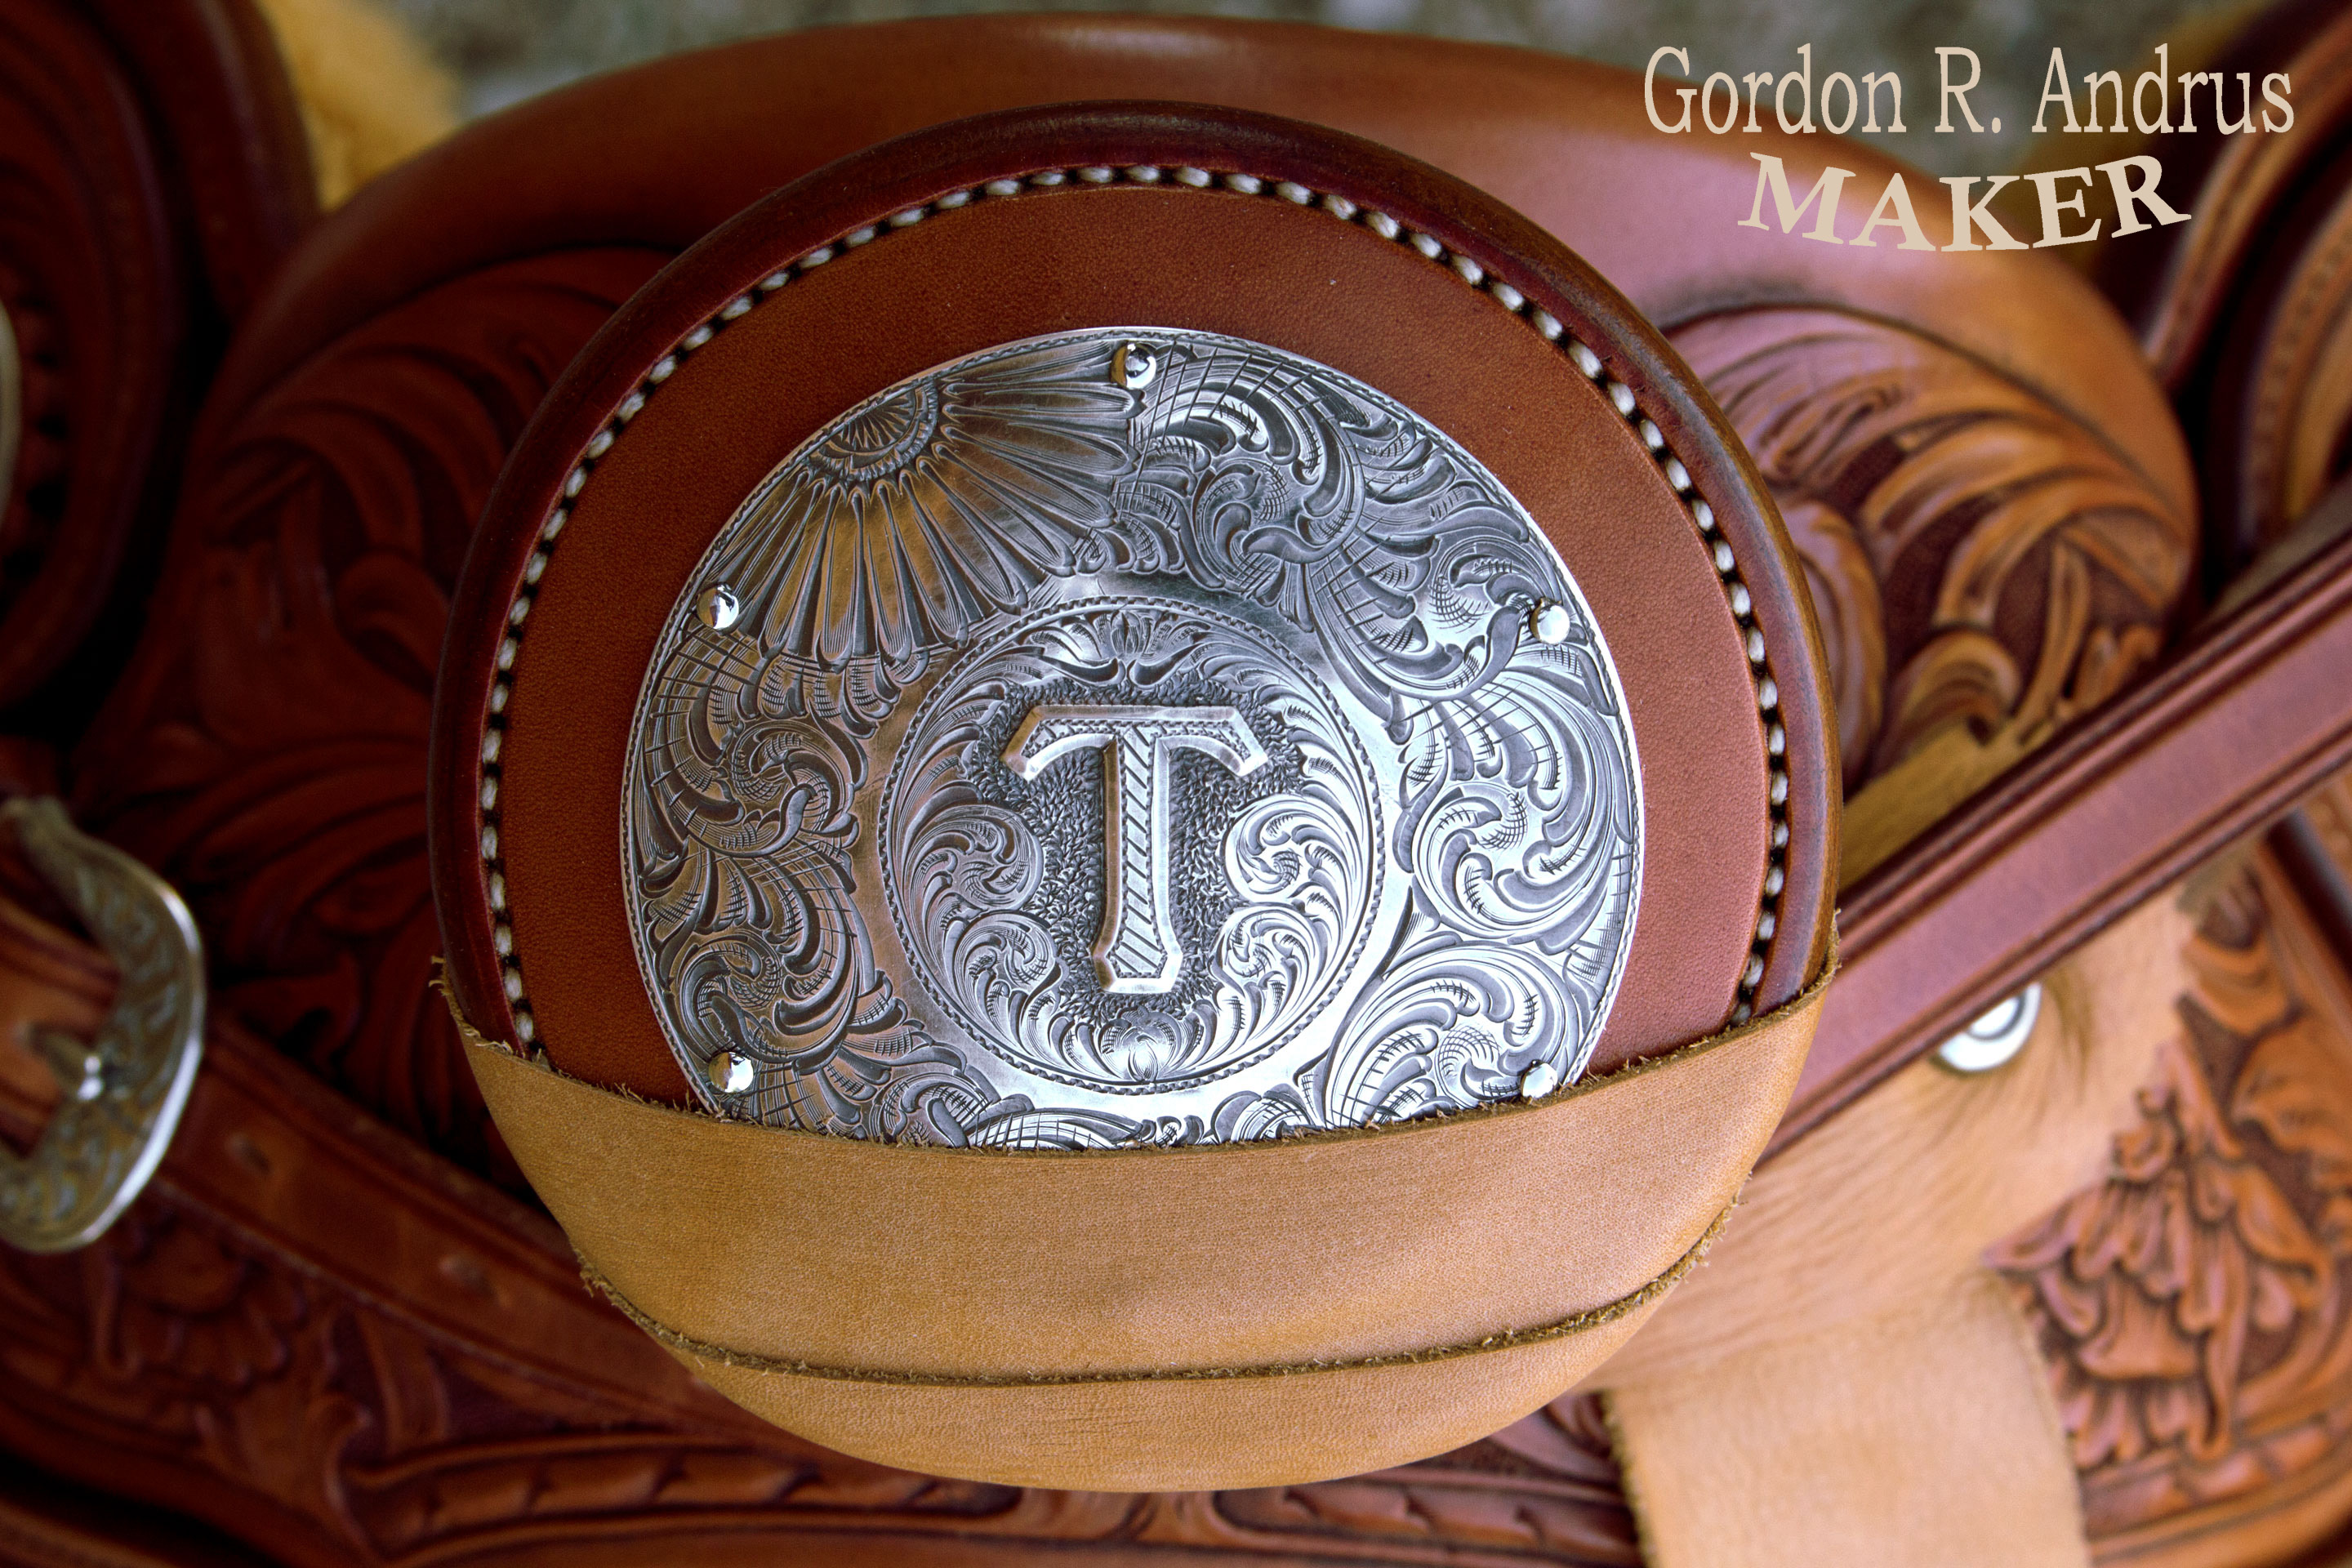
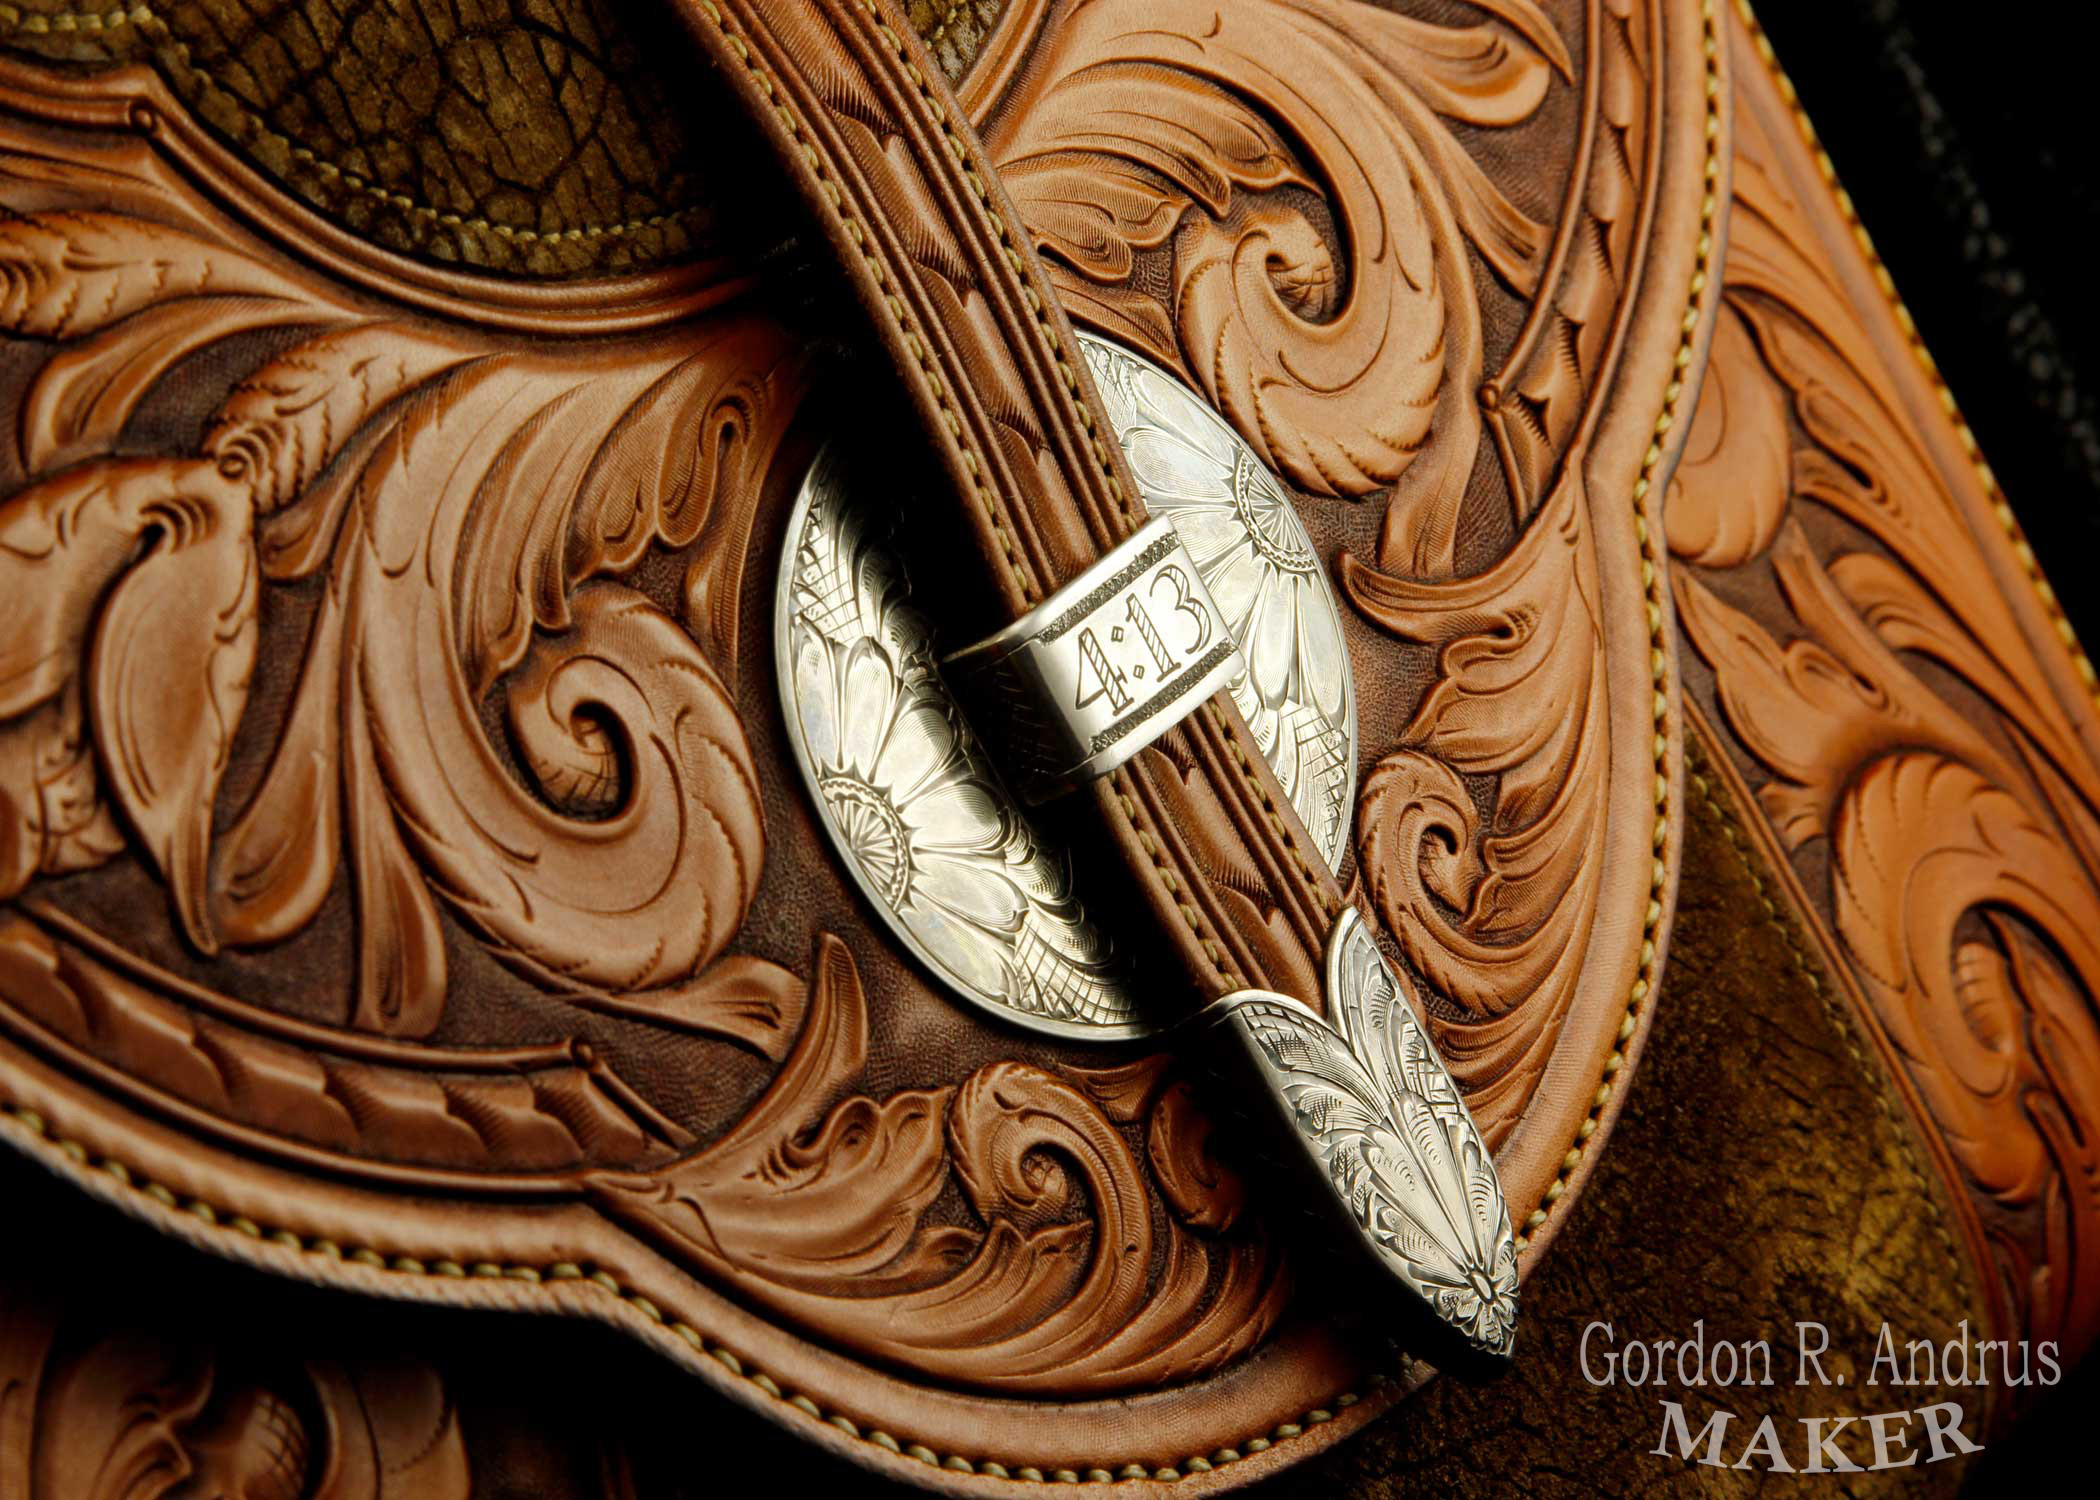
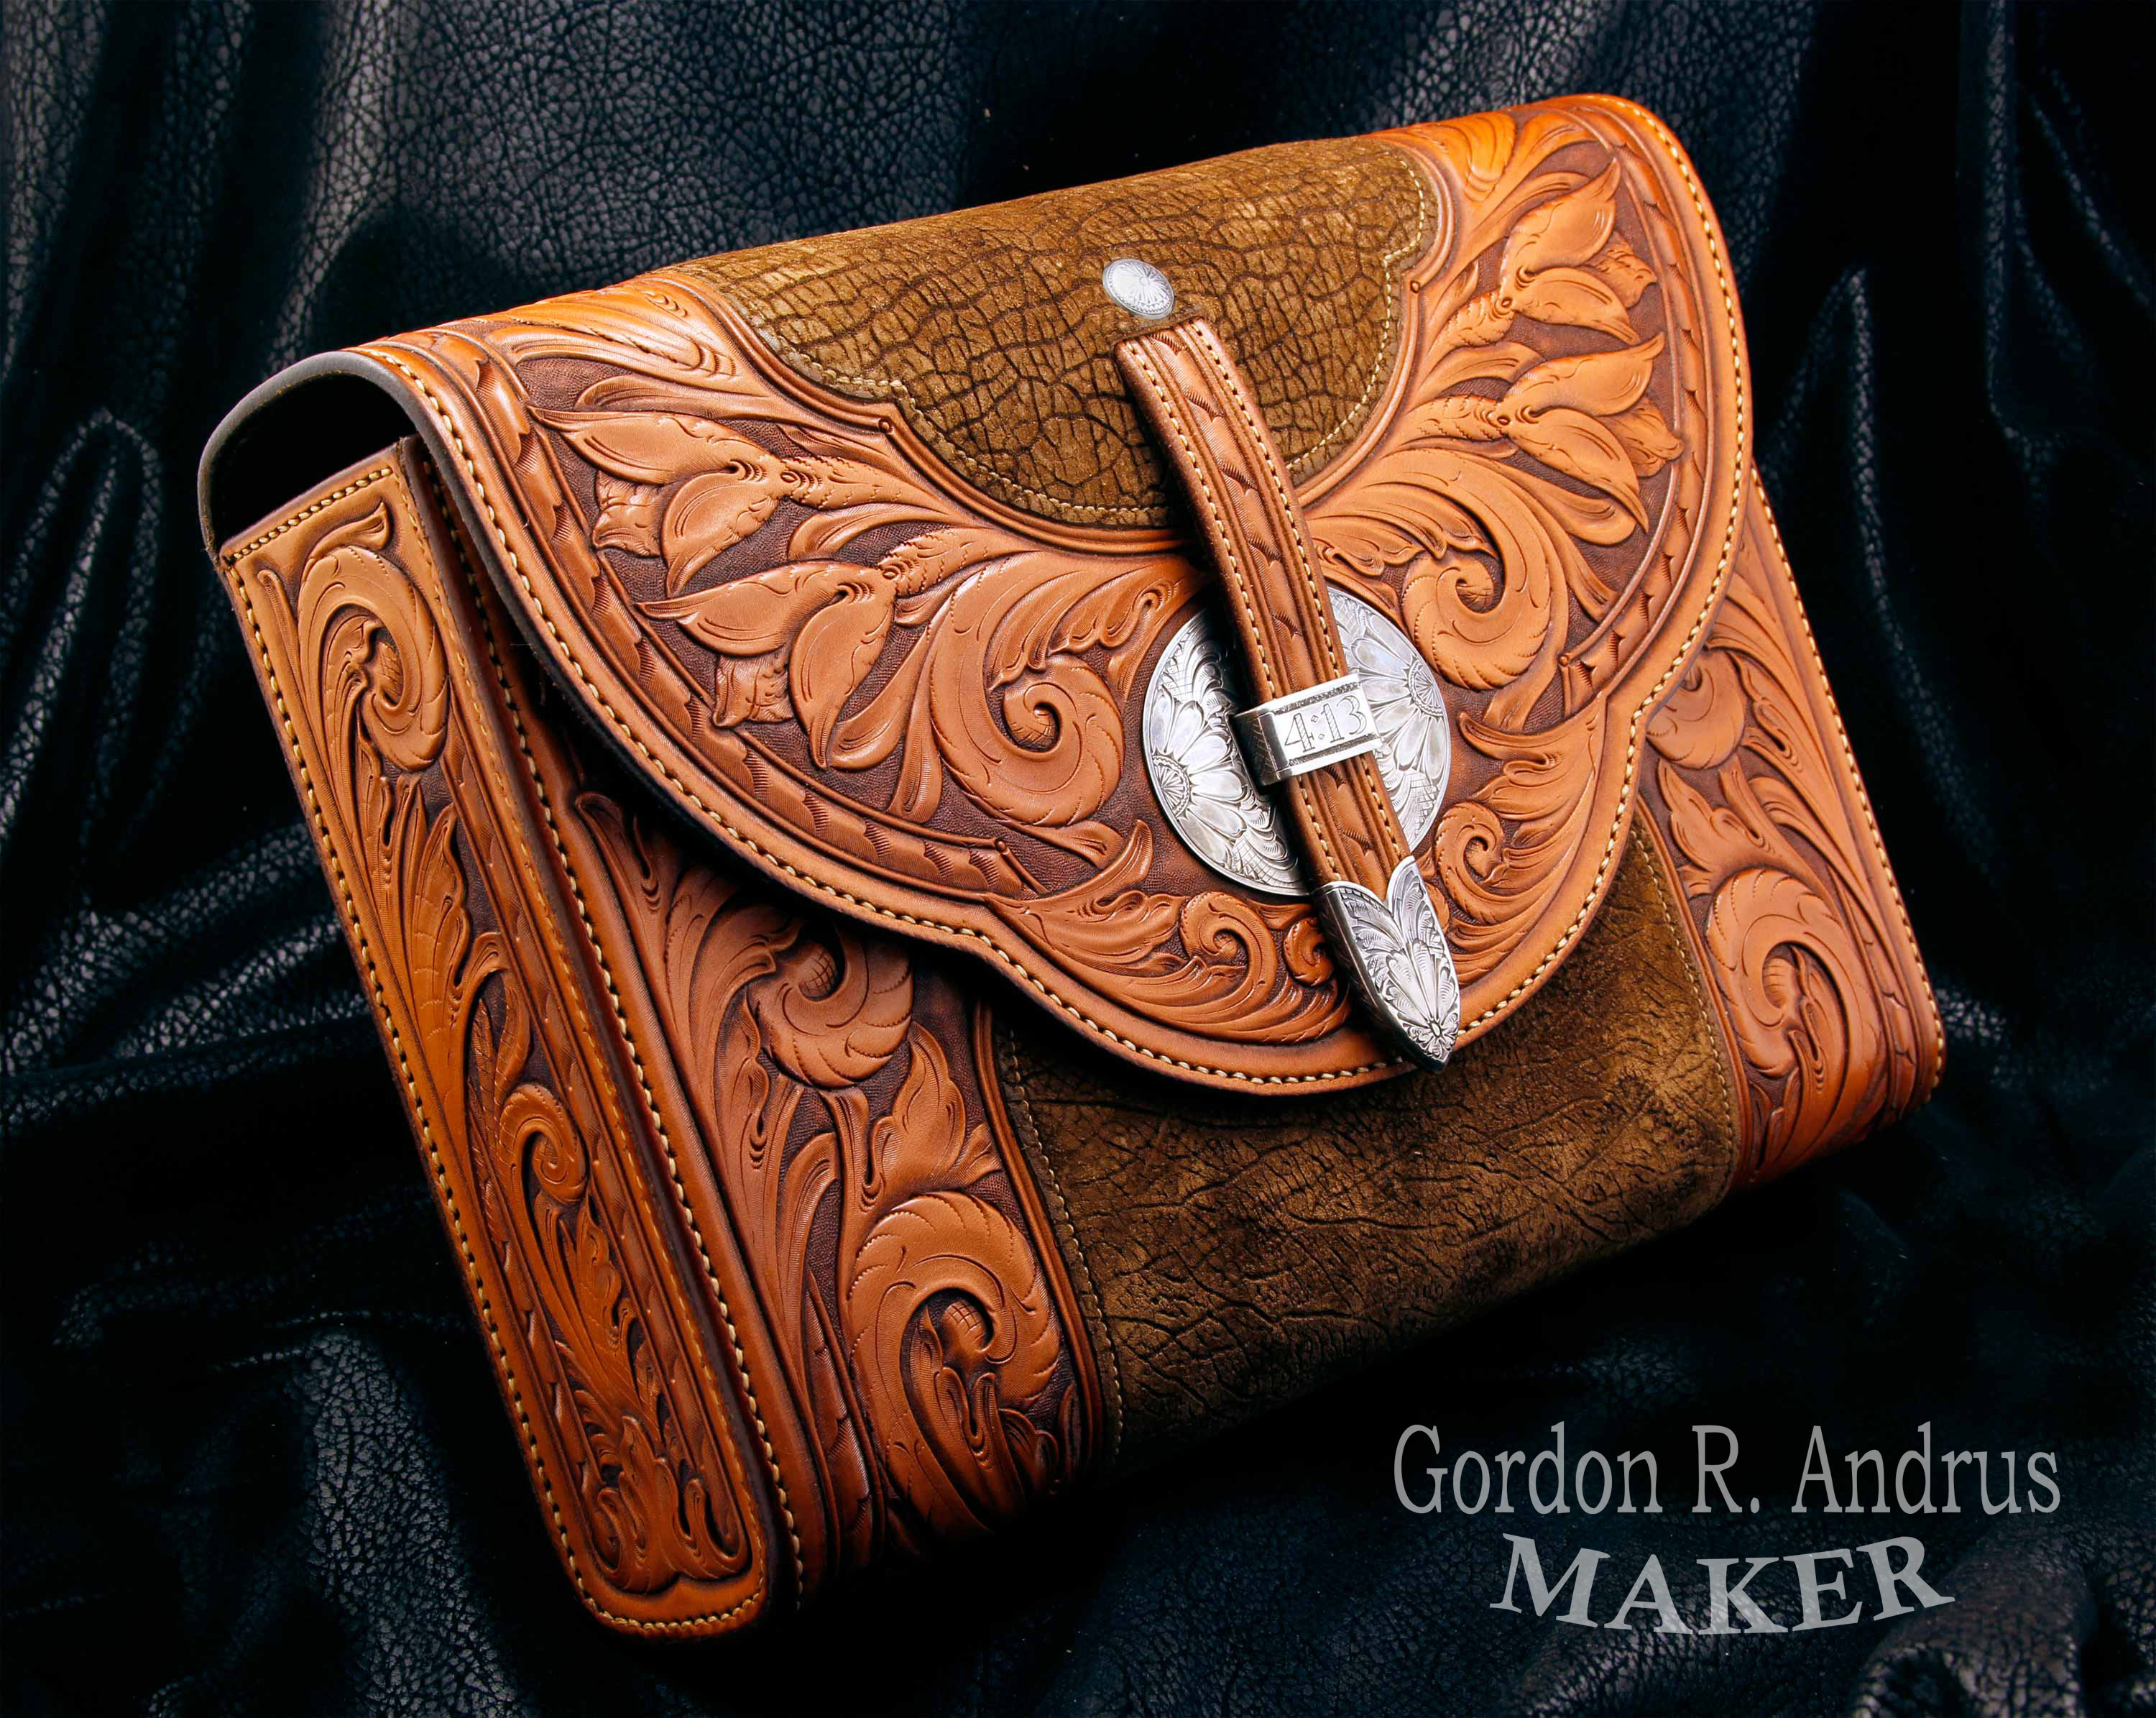
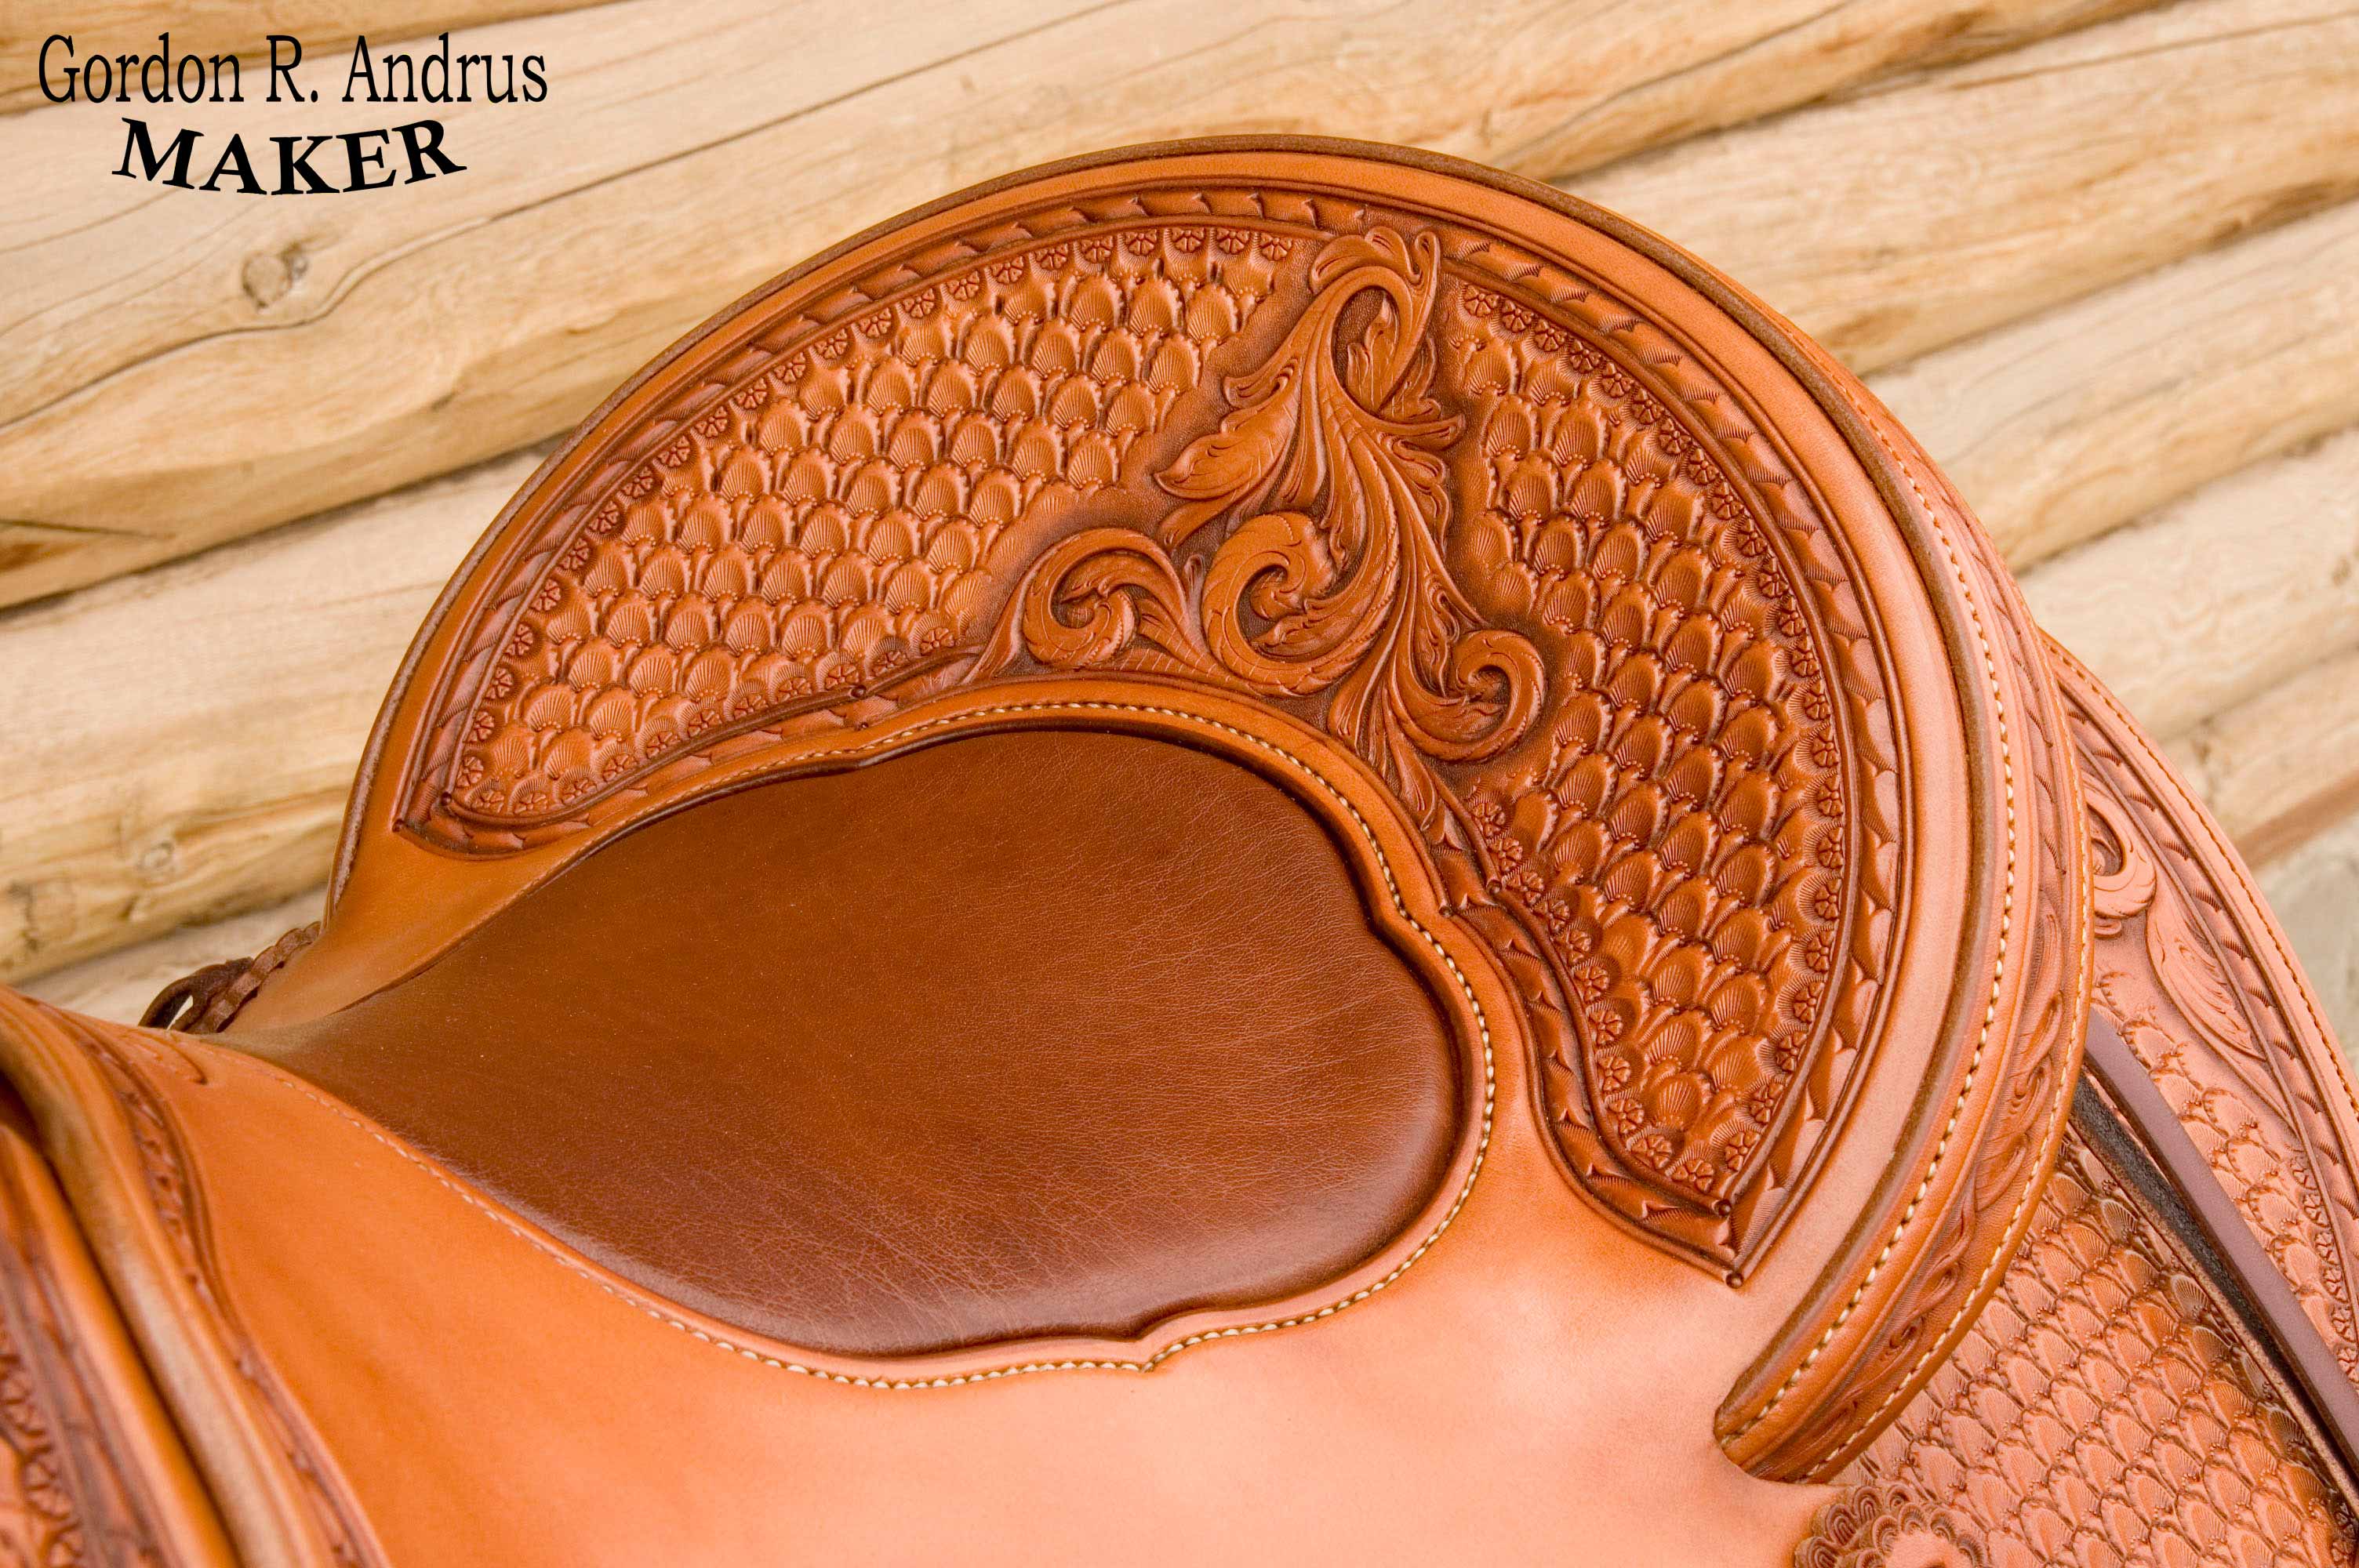
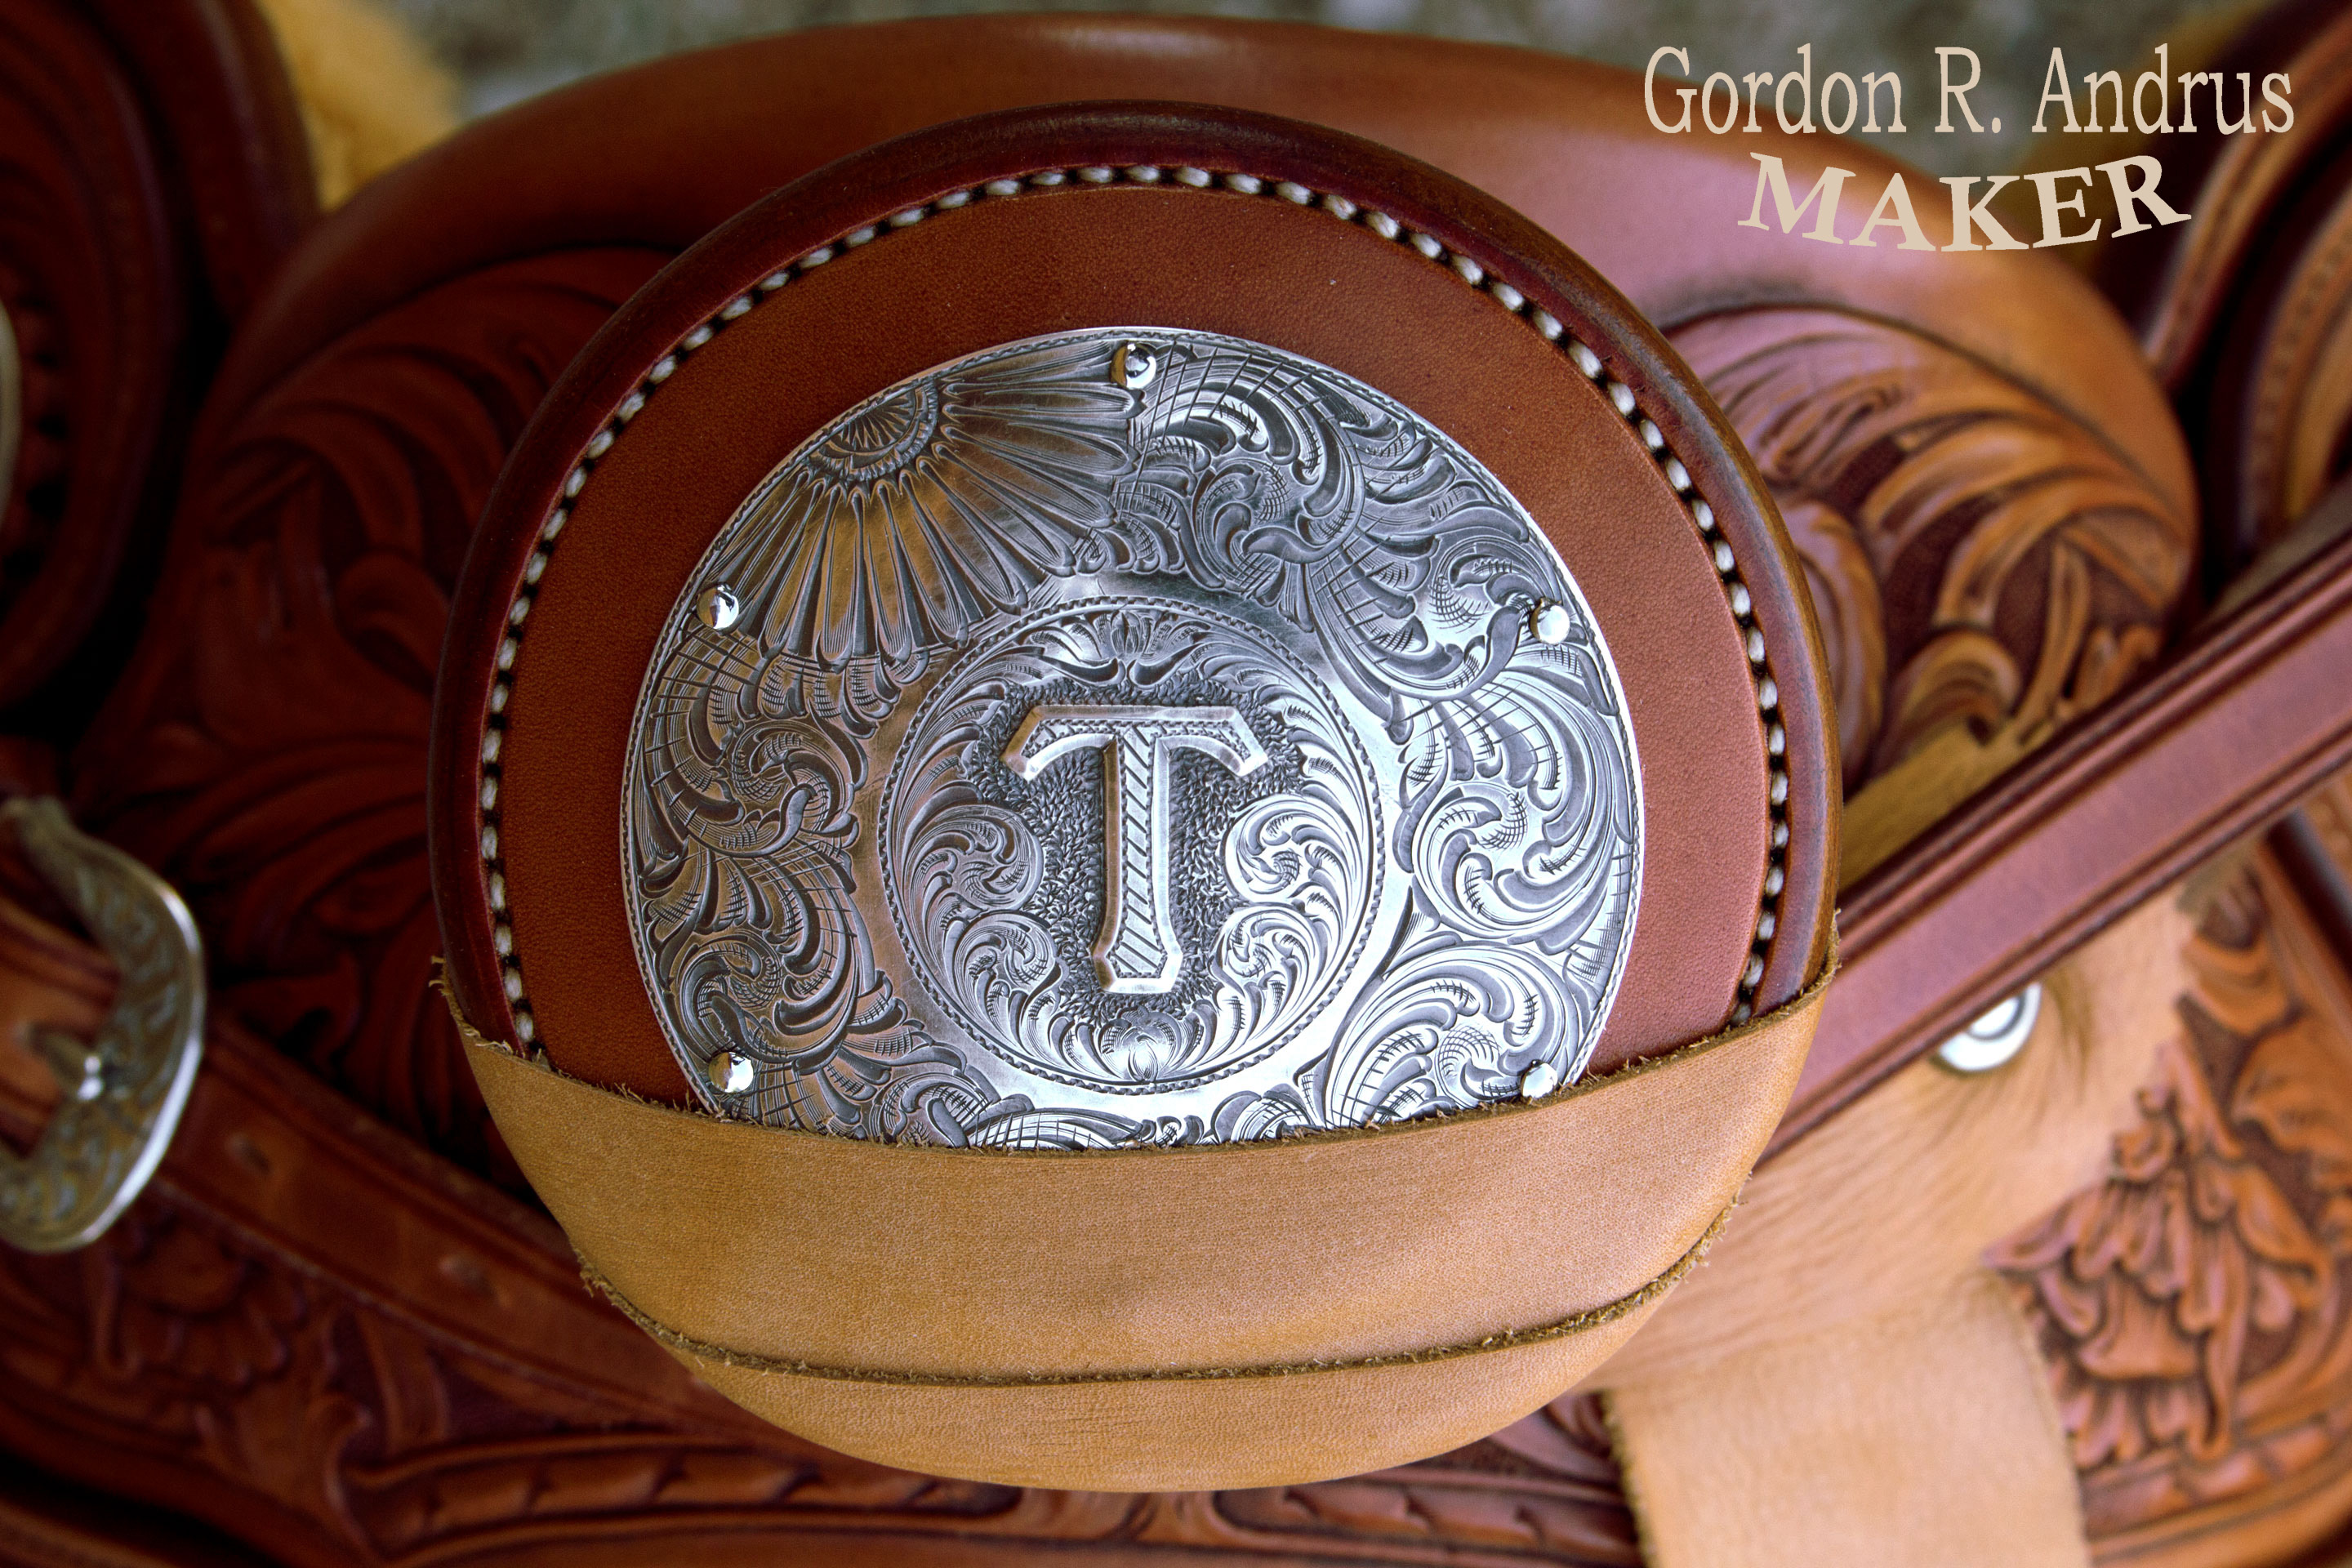
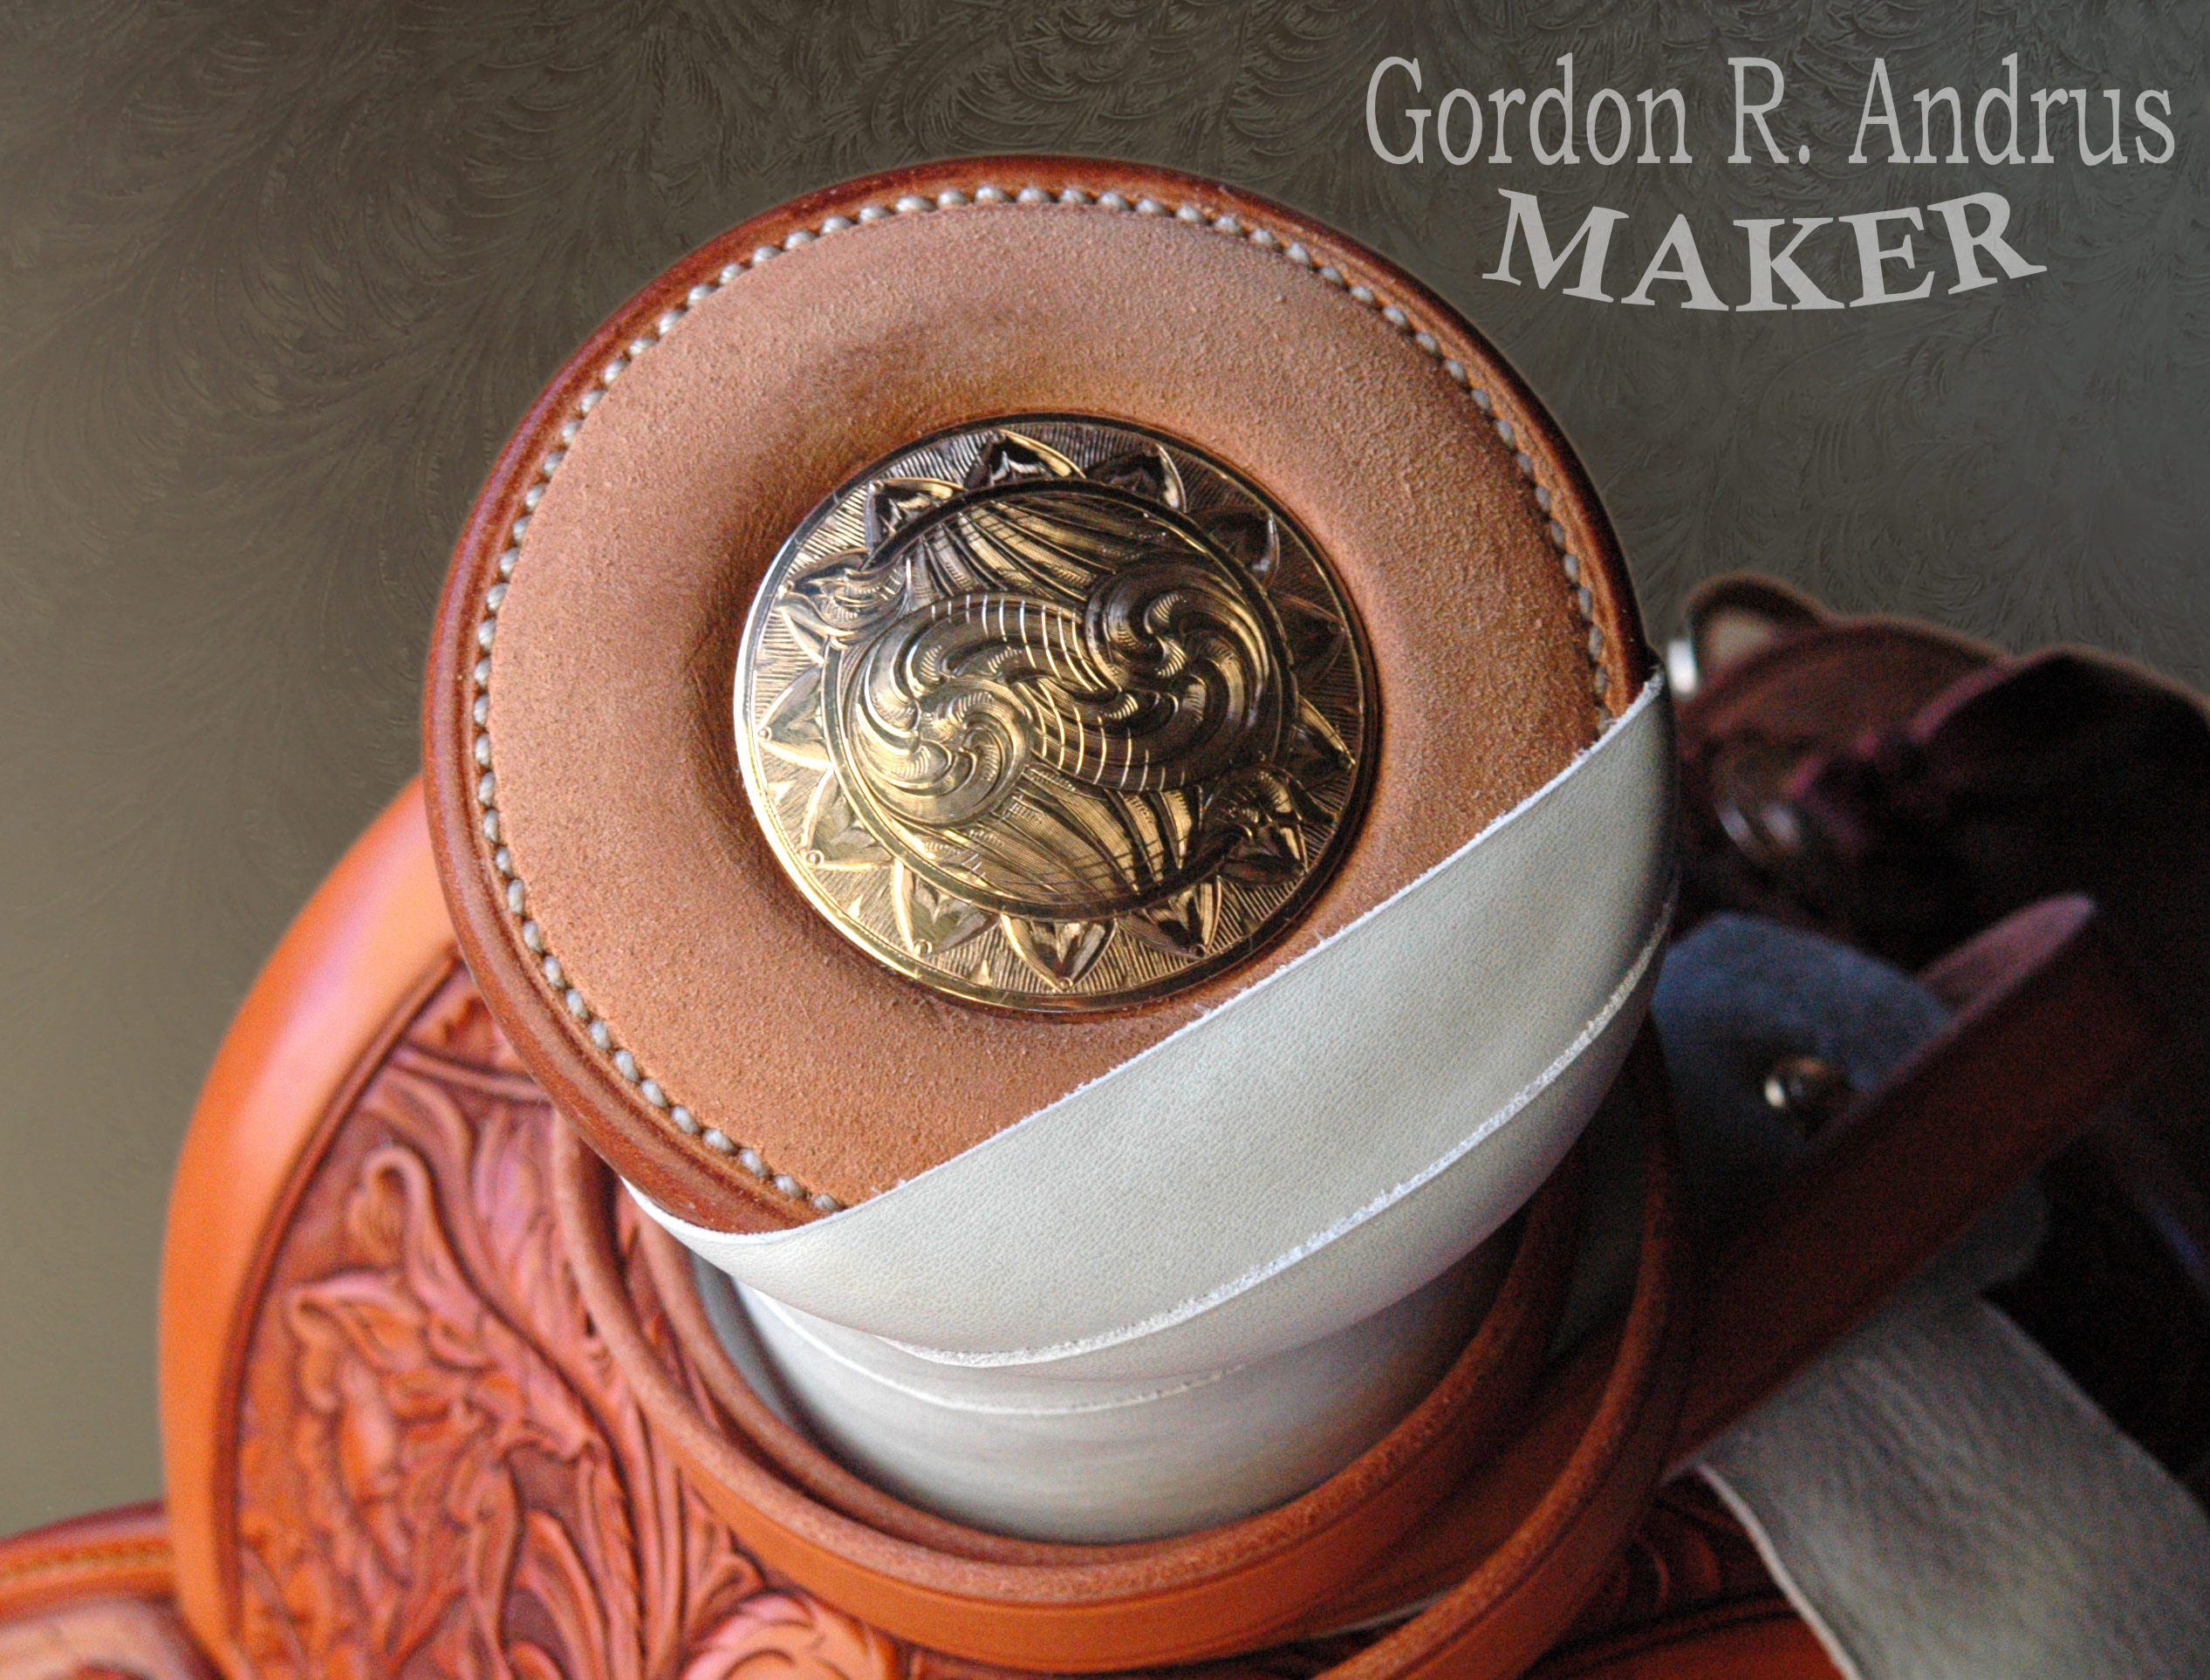
Below is a brief gallery of hand stitching samples. Thanks for looking in, and I hope you have an enjoyable visit.
Hand Stitching Step by Step PDF


